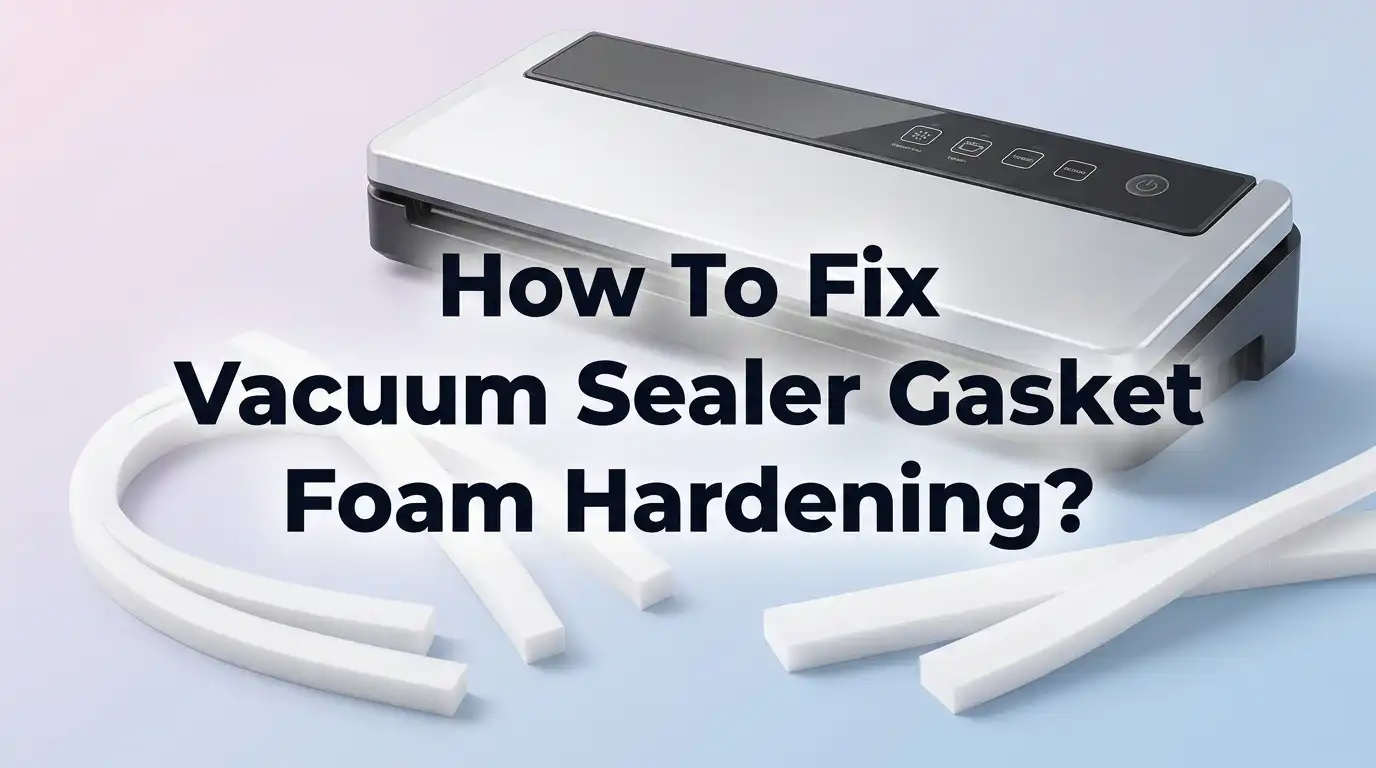
How To Fix Vacuum Sealer Gasket Foam Hardening?
Does your vacuum sealer suddenly refuse to seal bags properly? The problem might not be the machine itself. It could be the small foam gasket hiding inside the lid.
Over time, these foam strips can dry out and harden. This happens due to dust buildup, food residue, or simply storing the machine with its lid latched shut. Once the foam loses its softness, it can’t press down and create that all important airtight seal.
The good news? This is a common issue with a simple fix. You do not need to throw away your appliance or call a repair technician.
In a Nutshell
- Clean first, replace later. Most sealing problems start with dust or food debris. A simple wipe down often restores the seal instantly.
- Check both gaskets carefully. Look at the upper and lower foam strips for cracks or flat spots. Visible damage means it is time for a swap.
- Replacement is easy and affordable. New gaskets cost only a few dollars. This small investment saves your machine from bigger issues.
- Use food safe adhesive for loose foam. If the gasket is detached but not damaged, silicone adhesive can reattach it securely.
- Store your machine correctly. Always keep the lid open or unlatched when not in use. This prevents the foam from compressing over time.
- Consistency prevents future problems. Regular cleaning and proper storage help gaskets last much longer. A little maintenance goes a long way.
What Causes Vacuum Sealer Gasket Foam to Harden
Vacuum sealer gasket foam hardens for several specific reasons. Understanding these causes helps you prevent the problem before it starts.
The most common culprit is improper storage. When you store your machine with the lid latched shut, the foam gasket stays compressed. This constant pressure causes the material to lose its flexibility over time. The foam becomes stiff and no longer creates an airtight seal.
Dust and debris also contribute to hardening. Particles settle into the gasket’s porous surface. They trap moisture or cause the foam to dry out unevenly. Food residue is another major factor. Oils, seasonings, and food particles accumulate in the gasket grooves. These materials can degrade the foam’s elasticity and cause it to stiffen.
Environmental factors play a role too. Exposure to heat, humidity changes, and direct sunlight can break down foam material. Gaskets stored in hot kitchens or near appliances age faster than those in cooler spaces.
Age and regular use naturally wear down gasket foam. Each sealing cycle creates friction and stress on the material. After months or years of use, the foam simply loses its original softness.
Infrequent cleaning accelerates hardening. When you neglect to remove food debris and dust, the gasket degrades faster. The buildup creates a barrier that prevents the foam from breathing properly.
The key takeaway is this: hardening happens through a combination of compression, debris accumulation, and environmental stress. Recognizing these causes helps you take action early. You can prevent serious damage by storing your machine correctly and cleaning gaskets regularly. This simple maintenance extends your gasket’s lifespan significantly.
Signs Your Gasket Foam Needs Attention
Your vacuum sealer gives you clear warning signs before gasket foam becomes completely unusable. Learning to spot these signals helps you catch problems early and avoid frustration.
Visible cracks or flat spots are the most obvious red flags. Open your machine and inspect both the upper and lower gaskets closely. Hardened foam often develops small cracks along the edges or shows permanent dents where the lid presses down. These damaged areas prevent the seal from forming properly.
Poor sealing performance is another key indicator. If your bags no longer seal completely, or if air leaks out shortly after sealing, the gasket foam has likely lost its flexibility. A healthy gasket compresses evenly and springs back. A hardened one stays flattened and cannot create an airtight barrier.
Visible dust or residue buildup suggests your gaskets need attention soon. Food particles, dust, and moisture accumulate on the foam strips over time. This buildup accelerates hardening and reduces sealing effectiveness. You might notice a crusty or sticky film on the gasket surface.
Difficulty closing the lid sometimes points to gasket problems. If your machine feels harder to latch or the lid seems loose, the foam may have shrunk or hardened unevenly. The lid should close smoothly with gentle pressure.
Unusual odors coming from the machine can indicate trapped debris or mold growth on the gasket. This happens when moisture gets trapped in hardened foam.
Check your gaskets regularly, especially if you use your vacuum sealer frequently. Early detection makes fixing the problem much simpler and keeps your machine working reliably for years.
Step-by-Step: Cleaning Hardened Gasket Foam
Start by unplugging your vacuum sealer from the power outlet. Safety comes first when you work on any appliance.
Locate both the upper and lower gasket foam strips. These sit in grooves along the sealing chamber. Inspect them carefully for visible dirt, food particles, or discoloration.
Use a damp cloth to wipe away surface debris. Work gently along the entire length of each gasket. Pay special attention to corners and crevices where dust hides.
For stubborn residue, soak a cloth in warm water with a small drop of dish soap. Wring out excess water so the cloth stays damp, not wet. Wipe the gaskets again using gentle circular motions.
Let the gaskets air dry completely before reassembling. Moisture left behind can cause mold growth or further hardening.
Once dry, run your fingers along each gasket to feel for rough spots or flat areas. These indicate hardening that cleaning alone won’t fix.
Test the vacuum function by running a short seal cycle without any food items inside. Listen for normal suction sounds and watch if the lid closes smoothly.
If cleaning doesn’t restore function, the gasket foam has hardened beyond repair. This is normal wear. The gasket has reached the end of its useful life.
Check if the foam is still attached firmly to its backing. Detached foam can sometimes be reattached using food safe silicone adhesive, but hardened foam cannot be softened back to its original state.
Most people find that cleaning resolves the issue completely. If it doesn’t, replacement is your next step. This simple maintenance keeps your machine working reliably for years.
Step-by-Step: Reattaching or Replacing Foam Gaskets
Start by determining whether your gasket foam can be reattached or needs replacement. First, inspect both the upper and lower gasket strips carefully. Look for foam that has pulled away from its backing material or separated completely.
If the foam is still attached but just hardened, cleaning often solves the problem. However, if the foam has actually detached from the backing, reattachment is your best first step. Gently peel back any foam that has come loose to see the backing surface underneath.
Clean the backing surface thoroughly before reattaching. Use a dry cloth to remove dust and debris. Wipe away any old adhesive residue with a slightly damp cloth, then let it dry completely. This ensures a strong new bond.
For reattachment, apply a thin, even layer of food safe silicone adhesive to the backing. Press the foam firmly back into place and hold it for several seconds. Allow the adhesive to cure for the time specified on the product instructions before using your machine.
If the foam is crumbling, cracked, or too deteriorated to reattach securely, replacement is your better option. Remove the old gasket completely by carefully peeling it away from the backing. Clean away all old adhesive residue from the backing surface.
Install your new gasket foam by applying food safe silicone adhesive to the backing and pressing the new foam into position. Make sure the foam sits flush along the entire length with no gaps or bubbles.
Test your vacuum sealer with the new gasket before using it with food. Run a short cycle to confirm proper sealing function. Your machine should now seal bags effectively again.
Testing Your Vacuum Sealer After Repair
After you’ve cleaned or replaced your gasket foam, testing becomes essential. Your vacuum sealer needs to work properly before you trust it with food again.
Start by plugging in your machine and letting it sit for a few minutes. This allows any residual moisture from cleaning to evaporate completely. Never test with wet gaskets because water interferes with the seal.
Run a test cycle without any food inside the machine. Close the lid gently and activate the vacuum function. Listen for the motor sound and watch for any air leaks around the sealing strip. The motor should run smoothly without stuttering or unusual noises.
Check the seal strip temperature. It should heat up evenly across the entire width. If certain areas stay cool while others get hot, your gasket may still have issues that need attention.
Open the lid and inspect the sealing strip closely. Look for any gaps or uneven contact between the upper and lower gaskets. The foam should sit flush against the heating element without any visible separation.
Test with a simple practice seal using a plastic bag and a piece of paper inside. Activate the vacuum and seal functions. The bag should compress evenly, and the seal should feel strong when you try to pull it apart gently.
If the seal still feels weak or air escapes easily, your gasket foam may need another cleaning session or replacement. Sometimes hardened foam requires multiple treatment attempts before full restoration occurs.
Repeat testing after any maintenance work. This ensures your repairs actually solved the problem and your vacuum sealer performs as intended.
Preventing Future Gasket Hardening
Preventing gasket hardening starts with how you store your vacuum sealer. Store your machine with the lid open or unlatched when not in use. Keeping the lid latched compresses the foam gaskets continuously, which speeds up hardening over time. This simple habit extends your gasket lifespan significantly.
Regular cleaning prevents debris from building up inside the gasket foam. After each use, wipe down both the upper and lower gaskets with a dry cloth. This removes food particles and dust before they can accumulate and cause damage.
Check your gaskets monthly for early signs of hardening. Feel along the foam strips with your fingers. Rough spots or flat areas warn you that compression is starting. Catching these signs early lets you take action before sealing fails completely.
Keep the sealing surfaces clean and dry at all times. Moisture trapped in the foam accelerates hardening. Allow your machine to air dry completely after cleaning before closing the lid.
Avoid storing your sealer in hot or humid environments. Heat and moisture speed up foam deterioration. A cool, dry cabinet or shelf works best for storage.
Don’t force the lid closed when the gaskets feel stiff. Excessive pressure damages the foam further. If you notice resistance when closing the lid, clean the gaskets first.
Clean the backing surface where the foam attaches regularly. Dust and food residue can weaken the adhesive bond. A damp cloth works well for this task.
Finally, replace gaskets as soon as you notice hardening that cleaning won’t fix. Worn gaskets waste energy and produce weak seals. Catching problems early keeps your machine working reliably for years to come.
Common Mistakes That Speed Up Gasket Damage
Storing your vacuum sealer with the lid latched is the biggest mistake you can make. When you latch the lid down, the foam gasket stays compressed. This constant pressure causes the foam to harden faster than normal. The foam never gets a chance to expand and recover between uses.
Neglecting debris and food residue removal accelerates damage significantly. Food particles get trapped in the gasket foam. They dry out and create hard spots. Dust settles into the foam fibers and causes brittleness. These materials prevent the gasket from moving freely and functioning properly.
Ignoring early hardening signs leads to bigger problems later. When you first notice the foam feeling stiff or less flexible, that’s your warning sign. Many people ignore this and keep using the machine. The gasket continues to harden until it fails completely. Early action prevents complete deterioration.
Exposing your sealer to hot or humid storage areas speeds up foam breakdown. Heat causes foam to become brittle and crack. Humidity promotes mold growth and material degradation. Storing your machine in a cool, dry place protects the gasket significantly.
Forcing the lid closed when gaskets feel stiff creates unnecessary strain. This puts extra pressure on the foam and backing. It can cause the foam to crack or separate from its base. Instead, stop and investigate why the lid feels tight.
The key is recognizing these mistakes early. Most gasket damage happens gradually. You have opportunities to stop the problem before replacement becomes necessary. Simple storage habits and regular cleaning prevent the majority of gasket issues from developing in the first place.
Troubleshooting Persistent Sealing Problems
When your vacuum sealer gasket foam hardens, you face a real sealing problem. The foam loses its flexibility and can’t create that tight seal you need. Let’s walk through how to fix this issue step by step.
Start by examining both gaskets carefully. Look at the upper and lower foam strips inside your machine. Run your fingers along them to feel for stiffness or brittleness. Hard foam feels rigid instead of soft and spongy. Check if the foam has separated from its backing material or shows visible cracks.
Next, clean everything thoroughly. Food particles and dust get trapped in the foam and contribute to hardening. Use a damp cloth to wipe down both gaskets. Pay special attention to crevices where debris hides. Let the gaskets dry completely before testing your machine again.
Many hardening problems disappear after a good cleaning. The debris removal alone can restore some flexibility to the foam. Test your sealer on a practice bag to see if performance improves.
If cleaning doesn’t work, your gasket foam needs replacement. This is an affordable fix that takes just minutes. Remove the old foam strips by gently peeling them away from the backing. Clean the backing surface thoroughly to remove any adhesive residue or dust.
Apply food safe silicone adhesive to the backing. Press your new foam into position firmly. Make sure it sits flat with no air bubbles underneath. Allow the adhesive to cure according to package directions before using your machine.
Most gasket hardening issues resolve through cleaning or simple replacement. Catch the problem early, and you’ll keep your vacuum sealer working reliably for years.
Final Thoughts
Fixing hardened gasket foam does not need to be complicated. In most cases, a simple cleaning routine solves the problem right away.
If cleaning does not restore your seal, replacement gaskets offer an easy and affordable fix. You can complete this task at home in minutes.
Your vacuum sealer depends on soft, flexible foam to create an airtight seal. Once you understand this, prevention becomes second nature.
Storage habits matter more than most people realize. Always keep your lid open when the machine sits unused. This single change protects your gaskets for years.
Regular cleaning also plays a big role. Wipe away food particles and dust after every use. This prevents buildup that speeds up hardening.
Pay attention to early warning signs too. Stiff or cracked foam tells you a problem is starting. Address it quickly before it gets worse.
Testing your machine after any repair confirms your fix worked. Run a quick seal test on a bag. This simple check saves you time later.
Remember that gasket problems rarely mean your whole machine is broken. Foam wears out naturally with regular use. Replacing it keeps your sealer working like new.
Think of gasket care as routine maintenance, not an emergency repair. A few minutes of cleaning or a quick swap keeps your machine reliable. Your food stays fresher and your sealer lasts longer.
With the right habits, you avoid hardened gaskets altogether. Clean often, store properly, and check for wear regularly. These small steps make a big difference over time.
Frequently Asked Questions
Why does my vacuum sealer gasket foam get hard in the first place?
Gasket foam hardens due to three main causes. First, storing your machine with the lid latched compresses the foam constantly. Second, dust and food debris accumulate in the foam material over time. Third, exposure to heat or humidity speeds up the breakdown process.
The foam loses its flexibility when these factors combine. Your storage habits play the biggest role in how quickly this happens.
Can I soften hardened gasket foam without replacing it?
Cleaning often restores soft, flexible foam. Remove your gasket and wash it with warm soapy water. Scrub away all food particles and dust trapped in the material.
Pat the gasket dry completely before reinstalling. Many hardening problems disappear after thorough cleaning alone. If the foam still feels stiff after cleaning, replacement becomes your best option.
What’s the easiest way to replace a hardened gasket?
Replacement gaskets are inexpensive and simple to install. Remove the old foam from the backing strip. Apply food safe silicone adhesive to the backing surface.
Press your new foam firmly into place and let it dry completely. Most people complete this task in under five minutes. Your machine works like new after proper installation.
How do I know if my gasket problem is actually fixable?
Test your seal function after cleaning or replacing the gasket. Place a piece of paper in the sealing channel and run a test cycle. The machine should hold the paper firmly without slipping.
If your seal works properly after repair, you fixed the problem. If sealing still fails, check that your gasket sits evenly in its channel.

Hi, I’m Frankie Shaw, the founder and writer behind Swittchly 👋. I’m a passionate tech enthusiast who loves exploring the latest gadgets, devices, and electronics that hit the market. Through my honest, research-backed Amazon product reviews, I help readers make smarter buying decisions without the hype or confusion.