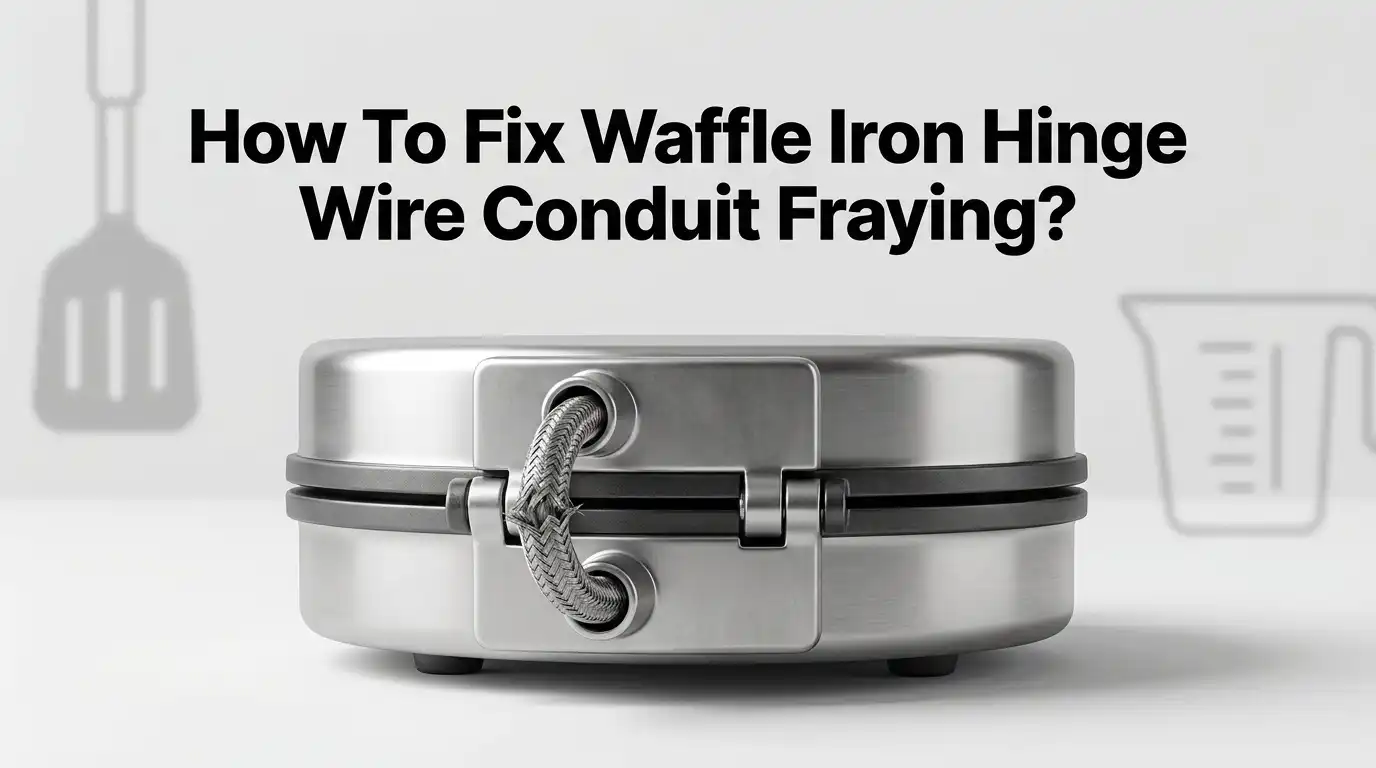
How To Fix Waffle Iron Hinge Wire Conduit Fraying?
Do you see frayed wires near your waffle iron’s hinge? This is a common problem. It happens on old and new models alike.
That little conduit wire connects your handle to the heating element. Over time, constant opening and closing causes it to wear out. The wire coating cracks and the metal underneath shows through.
This is not just a cosmetic issue. Frayed wires can cause shocks or even start a fire. You should never ignore this warning sign.
In a Nutshell
- Safety first. Always unplug the waffle iron before you touch any wires. This step protects you from electric shock.
- Find the damage. Remove the black heat shrink tubing at the hinge. Check the spade terminals and cord for wear.
- Skip the wire nuts. Crimp connectors or solder joints create a much stronger bond. They handle heat better than standard nuts.
- Insulate everything. Slide heat resistant sleeving over your new connection. This stops future fraying and keeps you safe.
- Check the whole cord. Vintage models often have cloth covered wires. Inspect the entire length, not just the hinge area.
- Know when to stop. Small, localized damage is easy to repair at home. If the fraying spreads far down the cord, consider a full replacement instead.
Understanding Hinge Wire Conduit Fraying and Why It Happens
Hinge wire conduit fraying happens when the protective covering around electrical wires breaks down. This exposes the metal wires underneath, creating a serious safety risk in your kitchen.
The hinge area experiences constant movement. Every time you open and close your waffle iron, the wires bend and flex. Over time, this repetitive motion damages the outer insulation layer. The protective coating cracks, splits, and peels away from the wire.
Heat also plays a major role in this problem. Waffle irons generate intense heat during cooking. This heat travels through the hinge area where electrical connections sit. The insulation material becomes brittle and loses its flexibility. It can no longer protect the wires underneath.
Moisture and humidity speed up the fraying process. Steam from cooking rises toward the hinge connection. Water droplets settle on the wires and their coverings. This moisture causes the insulation to deteriorate faster than normal use alone would cause.
Age is another significant factor. Older waffle irons often have cloth covered cords instead of modern plastic insulation. Cloth degrades naturally over decades. It becomes dry, crumbly, and falls apart easily. Vintage models from the 1950s commonly show this type of damage.
Manufacturing defects can also cause early fraying. Some waffle irons have poorly designed hinge connections from the factory. The wires may be pinched, twisted, or positioned too close to heat sources. This creates weak spots that fray quickly.
Understanding why fraying happens helps you prevent it in the future. You can avoid bending the cord sharply at the hinge. You can keep your waffle iron away from steam and moisture. You can store it carefully between uses.
The key takeaway? Frayed wires are not inevitable wear and tear. They result from specific conditions. Recognizing these causes helps you catch problems early and keep your appliance safe.
Safety Precautions Before You Begin Any Repair
Before you start fixing your waffle iron, safety must come first. Working with electrical appliances requires careful planning and proper precautions.
Unplug the appliance completely. This is the most critical step. Do not just turn it off or use the timer function. Remove the plug from the wall outlet entirely. Wait at least five minutes after unplugging to allow any residual electrical charge to dissipate.
Let the waffle iron cool down. Even after unplugging, the heating plates stay hot for a while. Touch the exterior gently to check the temperature. Wait until it feels completely cool to the touch before opening or inspecting any internal components.
Gather your workspace. Work on a clean, dry surface away from water sources. Moisture and electricity do not mix well. Keep your work area organized so you can easily locate small parts like screws or connectors.
Inspect the damage carefully first. Before touching anything, look at the frayed area from the outside. Take a photo with your phone so you remember exactly what you saw. This helps you understand the extent of the problem.
Wear appropriate clothing. Remove any metal jewelry, watches, or rings. These items can conduct electricity and cause injury. Consider wearing rubber soled shoes for extra protection.
Have proper tools ready. Gather everything you need before you begin. You should have wire strippers, a flashlight, and safety glasses nearby. Having tools ready means you work faster and stay safer.
Know your limits. If the damage extends deep into the appliance or affects multiple connections, stop and consider professional help. Extensive electrical damage requires expertise beyond basic home repair.
Taking these precautions protects you and ensures your repair work goes smoothly.
Tools and Materials You’ll Need
You need several items before starting your repair. Gather everything in advance so you work safely and efficiently.
Electrical supplies form the foundation of your toolkit. You’ll need crimp connectors that match your wire gauge. Solder and a soldering iron work well for permanent joints. Heat shrink tubing provides insulation over your repaired connections. Choose tubing rated for high heat since waffle irons get very hot. Heat resistant sleeving offers additional protection around the repair area.
Wire preparation tools help you access and work with the damaged section. Wire strippers remove the outer coating safely. A wire cutter lets you trim frayed ends cleanly. Needle nose pliers help you position small wires and connectors. A multimeter checks whether electricity flows properly after your repair.
Safety equipment protects you during the entire process. Wear safety glasses to shield your eyes from small wire fragments. Work gloves keep your hands protected from sharp wire ends. A fire extinguisher should stay nearby when you use a soldering iron. Work in a well ventilated area to avoid inhaling fumes.
Cleaning supplies keep your workspace organized. Paper towels wipe away debris and dust. A small brush removes particles from tight spaces around the hinge. A clean work surface prevents contamination of electrical connections.
Documentation materials help you remember the original setup. Take photos before you disassemble anything. This visual record shows you exactly how wires connect. A notepad records wire colors and connection points.
Optional but helpful items make repairs easier. A heat gun applies heat shrink tubing without a soldering iron. Electrical tape provides temporary protection while you work. A small flashlight illuminates dark areas inside the hinge mechanism.
Collect these items and organize them before unplugging your waffle iron. Proper preparation prevents mistakes and keeps you safe throughout the repair process.
Step-by-Step Guide to Repairing Frayed Hinge Wiring
Start by unplugging your waffle iron and letting it cool completely. This is your first and most important safety step. Once cool, examine the frayed area closely to understand the damage extent.
Locate where the fraying occurs. Most commonly, this happens at the hinge connection points or where the cord enters the appliance body. Mark these spots so you know exactly what needs repair.
Remove any black heat shrink tubing covering the connectors. Gently peel it back to expose the damaged wiring underneath. Take a photo of the original setup before making changes. This helps you remember the correct wire placement later.
Inspect the spade terminals attached to the wires. Look for corrosion, burn marks, or loose connections. These indicate electrical stress at that joint. Check the entire cord length for additional damage, especially on vintage cloth covered models.
Clean the exposed wire ends with a dry cloth. Remove any debris or oxidation. This ensures your repair materials bond properly to the wire surface.
Prepare your repair method. Crimp connectors work well for most situations. Slide the connector onto the bare wire and use a crimping tool to secure it firmly. Alternatively, you can solder the connection for a more permanent fix. Heat the joint gently until solder flows smoothly around the connection.
Once your connection is secure, apply heat resistant sleeving over the repaired joint. Slide this protective tubing over the connector or soldered area. This insulation prevents future fraying and protects against accidental contact.
Replace the black heat shrink tubing over your new insulation. Heat it gently so it shrinks snugly around the repair. This creates a finished, professional appearance.
Test the hinge movement gently. The repaired wiring should move smoothly without pulling or stretching. If everything looks secure, your repair is complete and ready for use.
Special Considerations for Vintage Models Like the 1950s Fostoria
Vintage waffle irons from the 1950s, like Fostoria models, have special repair needs. These appliances are older, so their materials behave differently than modern units. Understanding these differences helps you fix them safely.
Fostoria waffle irons typically use cloth covered cords instead of plastic insulation. This fabric deteriorates over decades. The cloth becomes brittle and separates from the wire underneath. When fraying occurs, you see exposed copper strands. This is more serious on vintage models because the entire cord may be compromised, not just one spot.
The hinge connection point on 1950s models often uses spade terminals. These terminals crimp onto the wire ends. Over time, vibration from opening and closing loosens these connections. The movement causes the wire to fray at the terminal edges. Check the entire length of your cloth cord before starting repairs. Look for soft spots, discoloration, or areas where the fabric pulls away easily.
Heat becomes your enemy with vintage models. Old insulation materials cannot handle modern repair heat sources. When you apply heat shrink tubing or solder joints, the surrounding cloth cord may scorch or melt. Use lower temperature soldering irons if you choose to solder. Crimp connectors work better for vintage units because they require no heat.
Vintage Fostoria irons often have tighter spaces around the hinge mechanism. You have less room to work than modern models. Take photos before disassembly. Document wire colors and terminal positions. This helps you reconnect everything correctly.
Test your repaired hinge gently after finishing. Move it back and forth slowly several times. Listen for any crackling sounds or smell any burning odors. These signs mean the repair failed. Stop immediately and reassess your work.
Vintage models deserve patient, careful repairs. Take your time with these older appliances.
Common Mistakes to Avoid During Repair
Working on a plugged in waffle iron is the biggest mistake you can make. Always unplug the unit completely before touching any wiring or connectors. Even if the appliance looks off, electricity still flows through the cord when plugged in. Wait a few minutes after unplugging so the heating element cools down.
Using the wrong insulation method creates serious safety problems. Standard wire nuts designed for household wiring won’t work on waffle iron cords. These connectors don’t provide adequate protection against the heat generated near the hinge area. Crimp connectors or solder joints work much better because they create secure, tight bonds that heat resistant sleeving can cover properly.
Creating J hook wire configurations during repair leads to stress points and future fraying. Wires should sit straight when you place them back into position. Bent or looped wires put pressure on the insulation and break it down faster. Straight placement keeps tension even across the entire connection.
Skipping a full cord inspection on older models causes problems later. Vintage waffle irons often have cloth covered cords that hide damage inside the fabric wrapping. One frayed section might indicate other weak spots you haven’t seen yet. Run your fingers along the entire cord length feeling for soft spots, cracks, or thin areas.
Neglecting to replace black heat shrink tubing after your repair leaves exposed connections vulnerable. This tubing protects your new insulation from physical damage and heat exposure. Don’t skip this step thinking your sleeving alone will hold.
Taking shortcuts with electrical safety always backfires. Frayed hinge wiring poses fire and shock hazards. Proper repair methods take a little longer but protect your family and your appliance. Take your time, follow each step carefully, and your waffle iron will work safely for years.
Troubleshooting Persistent Fraying or Recurring Issues
When fraying returns after your initial repair, the problem usually stems from incomplete insulation or weak connection points. Persistent fraying means your fix didn’t address the root cause. Check if you used adequate heat resistant sleeving over the entire joint. Many repairs fail because people only cover part of the exposed wire.
Recurring issues often happen when the hinge moves repeatedly in the same spot. This motion creates stress that breaks down your repair over time. The connection point flexes every time you open and close the waffle iron. Your insulation must cover more area than you think necessary to handle this constant movement.
Test whether your repair method was strong enough. If spade terminals keep loosening, you need a more secure connection type. Crimp connectors hold better than solder joints in high movement areas. Solder can crack under repeated stress, but crimps stay flexible and durable.
Inspect the entire cord length if fraying recurs. Sometimes the visible damage at the hinge masks deeper problems elsewhere. Cloth covered vintage cords deteriorate throughout their length. One weak spot can cause fraying to spread to nearby areas.
Consider whether you applied enough insulation layers. A single layer of heat resistant sleeving may not survive repeated hinge movement. Double layering provides better protection against future fraying. The extra coverage prevents wires from touching each other or external metal parts.
Check your black heat shrink tubing placement too. Loose tubing shifts during use and leaves gaps where fraying starts again. Make sure the tubing sits snugly against your repair with no movement. Proper tubing placement keeps moisture and dust away from your connection.
If fraying persists after these checks, the hinge mechanism itself may need adjustment. Excessive movement at the connection point indicates loose hardware elsewhere. Tighten any bolts or fasteners near the hinge to reduce stress on your repair.
Final Thoughts
Fixing a frayed hinge wire conduit is a task you can handle with patience and care. Safety always comes first. Unplug your waffle iron before you touch any wiring.
Good repairs need three things. You need proper insulation, secure connections, and careful testing. Skip any of these steps and fraying will return.
Vintage models need extra attention. Their cloth covered cords and tight spaces demand a gentler approach. Modern heat sources can damage old insulation materials quickly.
Take your time with each repair step. Rushing leads to mistakes like J hook configurations or weak connections. These shortcuts create bigger problems later.
Your waffle iron can serve you well for many more years after a proper repair. The key lies in doing the job right the first time.
Watch for warning signs after your repair. Sparks, unusual smells, or the cord feeling hot are red flags. Stop using the appliance immediately if you notice these signs.
Regular checks help prevent future fraying. Look at your hinge area every few months. Catching small issues early saves you from bigger repairs down the road.
Some repairs go beyond a simple fix. If the wiring damage spreads across most of the cord, replacement makes more sense than repair. Your safety matters more than saving an old cord.
Trust your instincts during this process. If something feels wrong or unstable, stop and reassess your approach. A waffle iron repair should never feel forced or uncertain.
With the right tools and steady hands, most hinge wire problems become manageable projects. Your fixed waffle iron will serve breakfast tables safely for years to come. Keep these steps in mind, and you will handle future repairs with confidence too.
Frequently Asked Questions
What causes waffle iron hinge wire conduit to fray in the first place?
Fraying happens when the protective covering around wires breaks down. Heat exposure, repeated bending at the hinge, and age all contribute to this damage. Vintage models with cloth covered cords are especially vulnerable. Modern units with plastic insulation can still fray if the hinge flexes too much during opening and closing.
The connection points at the hinge experience constant movement. This stress weakens the insulation over time. Moisture and heat near the heating element speed up the breakdown process.
Is it safe to use a waffle iron with frayed hinge wiring?
No. Frayed wires create serious electrical hazards. Exposed conductors can cause electric shock or fire. You should stop using the appliance immediately and unplug it.
Even small frays pose risks. Water or accidental contact with the exposed wire becomes dangerous. Never attempt to use the waffle iron while fraying is present.
Can I repair a frayed hinge wire myself, or do I need professional help?
Most localized fraying can be repaired at home with basic tools and patience. If damage is limited to the hinge connection area, you can fix it using crimp connectors or solder joints plus heat resistant sleeving.
However, extensive damage along the cord or internal wiring problems require professional repair. Assess the damage carefully first. Small frays at connection points are manageable. Damage spanning multiple inches suggests replacement is better.
Should I replace the entire cord or just repair the frayed section?
Repair works well for localized damage. If fraying appears only at the hinge connection, fixing that spot restores safety. Apply proper insulation and test gently afterward.
Replace the cord if damage extends along its length or appears in multiple spots. Extensive fraying indicates the cord is deteriorating overall. Replacement prevents future problems.

Hi, I’m Frankie Shaw, the founder and writer behind Swittchly 👋. I’m a passionate tech enthusiast who loves exploring the latest gadgets, devices, and electronics that hit the market. Through my honest, research-backed Amazon product reviews, I help readers make smarter buying decisions without the hype or confusion.