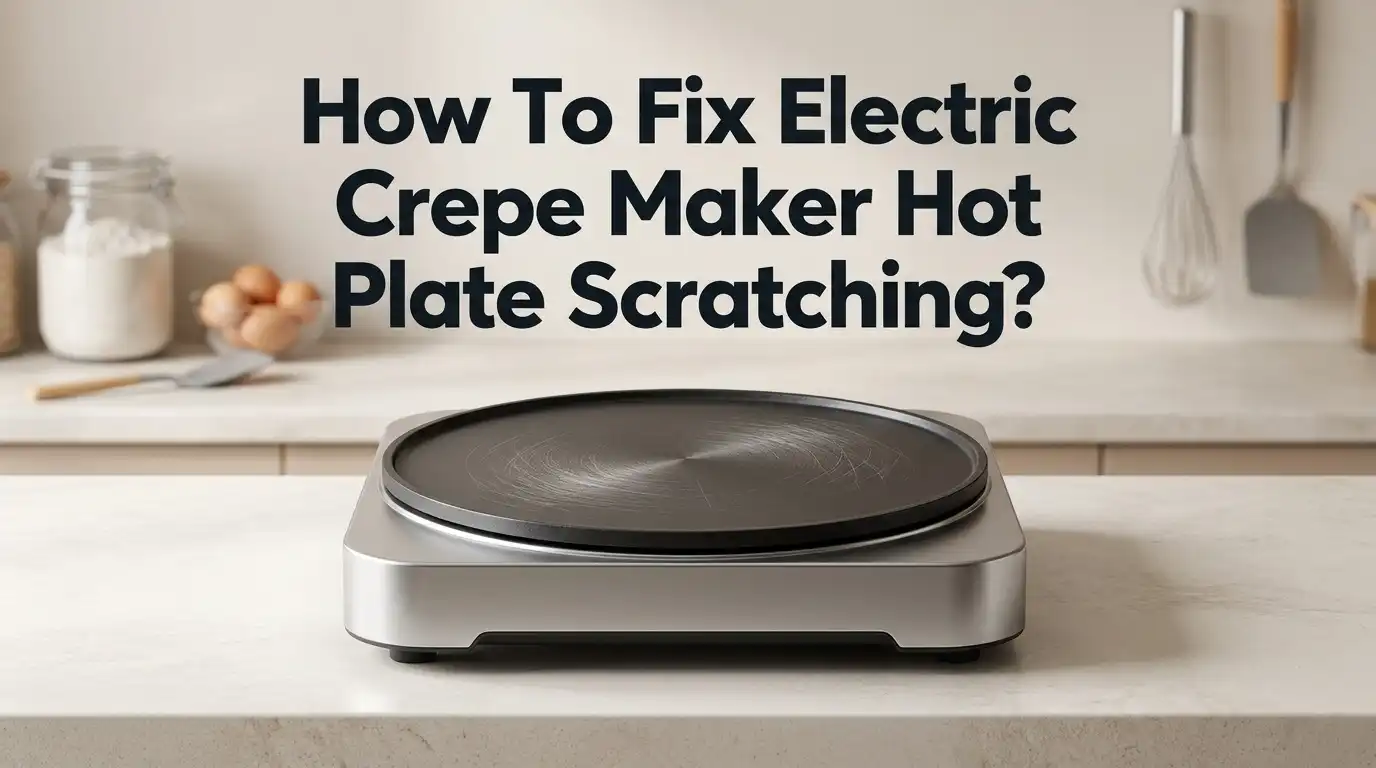
How To Fix Electric Crepe Maker Hot Plate Scratching?
Does your electric crepe maker have annoying scratches on the hot plate? You are not alone. Many home cooks notice these marks after months of regular use.
Scratches happen for simple reasons. Abrasive cleaning tools, wire brushes, and rough scrubbing pads all damage the surface over time. Even excessive pressure during cleaning can wear down the coating.
The good news? Most scratches are fixable or preventable. You do not need to replace your appliance or worry about every mark you see.
In a Nutshell
- Warm the plate first. Heat it to about 150°F before you start cleaning. This softens residue without causing damage.
- Clean with the grain. Rub in circular motions and follow the machined pattern. This protects the surface from new scratches.
- Skip abrasive tools. Avoid wire brushes and rough pads. They create the very scratches you want to prevent.
- Use light pressure. Excess force is a top cause of surface damage. Let the warm water and soft sponge do the work.
- Reapply oil every time. This step protects the metal and keeps food from sticking. Never skip it after cleaning.
- Don’t panic over minor marks. Small scratches on metal plates are usually harmless. They will not affect your cooking.
Why Hot Plate Scratches Happen
Scratches on your electric crepe maker’s hot plate happen for straightforward reasons. Understanding these causes helps you prevent future damage and keep your cooking surface in good condition.
Abrasive cleaning methods are the biggest culprit. When you scrub with wire brushes, steel wool, or rough scouring pads, you create tiny grooves in the metal. These micro scratches might seem small at first, but they add up quickly. Each scratch traps batter particles and creates spots where heat doesn’t distribute evenly.
Excessive pressure during cleaning also damages the surface. Many people apply hard force when scrubbing stuck on batter or residue. The metal plate, while durable, isn’t designed to withstand aggressive scrubbing. Even gentle pressure with the wrong tool can leave marks that become visible over time.
Neglecting the oil layer between uses is another major issue. The protective oil coating on your hot plate does more than prevent sticking. It acts as a barrier against wear and tear. When you skip reapplication after cleaning, the bare metal becomes more vulnerable to damage from heat cycling and friction.
Improper cleaning techniques compound these problems. Rubbing against the grain instead of following the machined pattern creates visible scratches. Using chlorine based cleaners on painted surfaces can also cause discoloration that looks like scratching.
Temperature matters too. Cleaning a plate that’s too hot or too cold affects how easily residue comes off. This forces you to apply more pressure or use harsher methods, both of which damage the surface.
The good news? Most scratches develop from habits you can change. By switching to soft cloths, using circular motions with the grain, applying gentle pressure, and always reapplying oil, you stop new scratches from forming. Your hot plate will perform better and last much longer.
Signs Your Crepe Maker Needs Repair
Your electric crepe maker sends you warning signs when the hot plate needs attention. Learning to spot these signals helps you fix problems before they get worse.
Uneven heating patterns are the first red flag. When some areas cook faster than others, scratches trap heat unevenly. You might notice one side of your crepe browns quickly while the other stays pale. This happens because debris and batter residue settle into scratched grooves and block proper heat distribution.
Batter sticking more than usual signals surface damage. A smooth hot plate releases crepes easily. When scratches appear, they create tiny pockets where batter catches and tears. Your crepes start falling apart during flipping, or they stick stubbornly to the plate.
Visual inspection reveals the damage directly. Look closely at your hot plate under good light. Scratches appear as thin lines or dull streaks across the surface. Some scratches catch your fingernail if you run it gently across them. Deep scratches look darker than the surrounding metal.
Residue buildup that won’t clean easily points to surface problems. Normal cleanup takes just a soft cloth and warm water. When scratches exist, batter and oil lodge in the grooves. You scrub harder and still see stubborn spots that won’t come clean.
Rust spots or discoloration develop when scratches expose bare metal underneath the protective oil layer. Moisture seeps into these exposed areas and causes oxidation. You’ll see brown or orange spots that look different from the rest of the plate.
A rough texture under your hand confirms scratching. Run your palm across a clean, cool plate. Healthy plates feel smooth. Scratched ones feel bumpy or have slight ridges. This texture directly affects how your crepes cook and release.
Catching these signs early makes repairs much simpler and keeps your crepe maker working smoothly.
Step-by-Step Guide to Fixing Scratched Hot Plates
Once you’ve identified scratches on your crepe maker’s hot plate, the repair process is straightforward. Start by unplugging the device completely. Safety comes first, and you never want electricity running while you work on the surface.
Next, inspect the scratched area closely. Use a flashlight if needed to see the damage clearly. Determine if the scratch is shallow or deep. Shallow scratches that barely catch your fingernail are easier to address than deep gouges that expose bare metal underneath.
For shallow scratches, gentle smoothing is your best approach. Warm the plate to 150°F as mentioned earlier. Take a soft cloth and rub the scratched area in circular motions, following the natural grain of the metal. This technique helps blend minor imperfections back into the surface.
If the scratch is deeper, you may need a very fine abrasive stone. Gently rub the area with light pressure, always moving in circular patterns. The goal is smoothing, not aggressive grinding. Stop frequently to check your progress. You don’t want to create new damage while fixing old damage.
After smoothing, wipe away all debris with a damp sponge and warm water. Make sure no abrasive particles remain on the surface. Pat the plate dry completely with a soft cloth.
The final critical step is reapplying your protective oil layer. This seals the repaired area and prevents rust from forming in the exposed metal. Use a small amount of appropriate cooking oil and spread it thinly across the entire cooking surface.
Test your crepe maker on low heat before making crepes. Watch how the batter cooks. If heating is now even and batter no longer sticks excessively, your repair was successful. Most minor to moderate scratches respond well to this simple process, restoring your hot plate to reliable performance.
Proper Cleaning Techniques to Prevent Further Damage
Proper cleaning keeps your hot plate smooth and prevents scratches from getting worse. Start by letting your crepe maker cool slightly. Heat the plate to around 150°F, which is warm but not hot enough to burn you.
Use a soft cloth or sponge for all cleaning. Rub in circular motions that follow the grain of the metal surface. This gentle approach removes batter and residue without creating new damage.
Never use wire brushes, steel wool, or rough scouring pads. These abrasive tools dig into the metal and create micro scratches. Even one aggressive scrubbing session can damage the protective coating on your plate.
Apply light pressure when you clean. Heavy scrubbing might feel like it cleans better, but it actually causes more harm. Let the warm water and soft cloth do the work instead.
For stubborn batter stuck on the surface, soak the area with a damp sponge for a few seconds. This softens the residue so you can wipe it away easily without scrubbing hard.
Wipe away all debris completely before the plate cools. Leftover particles trap moisture and can cause rust spots later. Use a fresh damp sponge with warm water for a final rinse.
The critical final step is reapplying your protective oil layer. Once the plate is clean and still slightly warm, apply a thin coat of food grade oil with a soft cloth. This oil prevents rust and keeps the surface smooth.
Avoid chlorine based cleaners on any painted areas of your crepe maker. These chemicals damage the finish and can affect the plate’s performance.
Clean your crepe maker after every use while the plate is still warm. This prevents batter from hardening and makes cleaning much faster and easier.
Reapplying Oil for Long-Term Protection
Reapplying oil after cleaning is essential for long-term protection of your electric crepe maker’s hot plate. This step prevents rust and keeps the surface smooth for perfect crepes.
Start by letting your plate cool to around room temperature. You want the surface warm enough to accept oil, but cool enough to handle safely. A plate that’s too hot causes oil to evaporate immediately without forming a protective layer.
Apply a small amount of food-safe oil directly to a clean, soft cloth. Avoid pouring oil straight onto the plate, as this creates pools and uneven coverage. Use a circular motion to spread the oil across the entire cooking surface. Follow the direction of the machined grain if your plate has visible lines.
Work the oil into the metal with gentle, consistent pressure. Your goal is a thin, even coating that covers every inch. Pay special attention to areas where you found scratches. The oil fills these small gaps and prevents moisture from reaching the exposed metal underneath.
Wipe away any excess oil with a fresh cloth. Too much oil becomes sticky and attracts dust. A light coating is all you need for effective protection.
Let the oiled plate sit for 10 to 15 minutes before your next use. This allows the oil to bond with the metal surface. When you turn on your crepe maker for the first time after oiling, you may notice a slight smoke. This is normal and clears quickly as the oil sets.
Repeat this oiling process after every cleaning session. Regular maintenance prevents scratches from deepening and keeps your hot plate in excellent condition. This simple habit extends your crepe maker’s lifespan significantly and ensures consistent cooking results every single time.
Common Mistakes That Worsen Scratching
Many people accidentally make scratching worse when they try to clean their crepe maker. Understanding these common mistakes helps you protect your hot plate from unnecessary damage.
Using abrasive cleaning tools is the biggest mistake. Wire brushes, steel wool, and rough scouring pads dig into the metal surface. These tools create tiny scratches that spread and connect together. What starts as minor surface wear becomes deep gouges. Even if your plate already has scratches, abrasive tools make them significantly worse.
Applying too much pressure during cleaning causes similar problems. People often scrub hard when they see stuck batter or residue. This aggressive scrubbing forces the cleaning tool deeper into the metal. The hot plate gets more damaged instead of cleaner. Light, gentle pressure works much better for maintaining your surface.
Another frequent error is using the wrong cleaning products. Chlorine based cleaners damage painted areas of your crepe maker. They can also leave chemical residue on the cooking surface that affects your next batch of crepes. Stick to warm water and soft cloths for most cleaning needs.
Many users skip the oil reapplication step after cleaning. This leaves the metal exposed to moisture and oxidation. Without that protective oil layer, rust develops faster. Scratches become deeper as corrosion spreads into damaged areas. The metal loses its non stick properties more quickly.
Cleaning while the plate is too hot also worsens scratching. High temperatures make metal expand and become softer. Your cleaning cloth can dig in more easily. Let your plate cool to around 150°F before you start cleaning. This warm temperature is still hot enough to loosen stuck food, but cool enough to protect the metal.
Finally, people often ignore small scratches thinking they don’t matter. Early damage spreads quickly when left untreated. Batter gets trapped in shallow scratches and burns. This creates uneven heating spots on your plate. Addressing scratches immediately prevents these bigger problems later.
Troubleshooting Uneven Heating After Repair
After you repair scratches on your electric crepe maker, uneven heating often becomes a problem. This happens because scratches trap batter and oil, which blocks heat from spreading evenly across the plate surface.
Start by checking if your plate actually heats evenly. Heat it to medium temperature and place a few water droplets on different spots. The droplets should sizzle at the same speed everywhere. If some areas heat faster than others, scratches are likely the culprit.
Debris buildup causes most uneven heating issues. Even small batter particles stuck in scratches act as insulators. They prevent direct contact between the heating element and the cooking surface. Use a damp sponge to remove all residue from scratched areas. Press gently and wipe in circular motions following the metal’s natural grain.
For gas model crepe makers, check the burner ports underneath the plate. Scratches sometimes allow food particles to fall into these ports and clog them. This creates hot and cold spots on your cooking surface. Carefully inspect the ports and clear any blockages with a soft brush.
After cleaning, let your plate cool completely. Then apply a thin layer of food safe oil to all scratched areas. This fills microscopic gaps and helps heat distribute more evenly. The oil also prevents moisture from entering the scratches and causing rust.
Test your plate again after oiling. Drop water on different spots and watch how they react. Even heating should return within one or two uses as the oil settles into the damaged areas. If uneven heating persists after these steps, the heating element itself may be failing. This requires professional inspection since internal components cannot be repaired at home.
Regular maintenance prevents this problem from returning. Clean your plate after every use and reapply oil consistently. This keeps scratches sealed and maintains proper heat distribution for perfect crepes every time.
Final Thoughts
Fixing hot plate scratches does not need to be hard. Small steps make a big difference. Clean gently, oil often, and your crepe maker will last for years.
Remember that scratches are common. Most metal plates show some wear over time. This is normal and does not mean your appliance is broken.
The real goal is to stop small scratches from becoming big problems. Batter should never stick in grooves. Heat should always spread evenly across the plate.
Consistency matters more than perfection. You do not need to clean like a professional every time. Simple habits, done regularly, protect your crepe maker better than one deep clean.
Think of oil as a shield. It fills tiny grooves and stops moisture from causing rust. Skipping this step often leads to bigger issues later.
Pay attention to how your plate feels after each use. If it feels rough or sticky, clean it soon. Waiting too long lets debris harden and scratch deeper.
Testing your plate regularly helps too. A quick water drop test shows if heat spreads evenly. This simple check can save you from cooking uneven crepes.
If you follow gentle cleaning steps and oil often, your hot plate should perform well for a long time. Most problems come from rushed cleaning or harsh tools, not from the crepe maker itself.
Good care habits build good cooking results. Your crepe maker rewards patience with smooth, golden crepes every time.
Keep your tools soft, your pressure light, and your oil fresh. These three habits solve most scratching issues before they even start.
In the end, small consistent care beats occasional deep cleaning. Treat your crepe maker gently, and it will treat your crepes the same way.
Frequently Asked Questions
Why does my crepe maker plate have scratches if I barely use it?
Metal plates scratch easily during normal cooking. Batter splatters, hardens, and then gets scraped off. Heat cycles cause the metal to expand and contract slightly. Even gentle use leaves tiny marks over time. Minor scratches are completely normal and don’t mean you’re doing something wrong. The key is preventing these small scratches from growing into bigger problems through proper cleaning methods.
Can I use a wire brush to clean stuck batter off my plate?
No, wire brushes are too harsh for crepe maker plates. They dig deep into the metal surface and create new scratches. Steel wool and rough scouring pads cause the same damage. Soft sponges and cloth are your best friends here. Warm water loosens stuck batter just as well without harming the cooking surface. A damp sponge removes debris gently and effectively.
What temperature should the plate be when I clean it?
Always let your plate cool to around 150°F before cleaning. A warm plate is easier to clean than a cold one. Hot plates make the metal softer and more prone to scratching. Cleaning a scalding hot plate also risks burns to your hands. Give your crepe maker time to cool after cooking, then wipe it down gently.
Why does my plate still cook unevenly after I cleaned the scratches?
Batter particles trapped in scratches block heat from spreading evenly. These tiny pieces act like insulators. After cleaning, apply a thin oil layer to seal the surface. This prevents new batter from sticking in those small grooves. Test your plate with water drops on different spots to check heat distribution.

Hi, I’m Frankie Shaw, the founder and writer behind Swittchly 👋. I’m a passionate tech enthusiast who loves exploring the latest gadgets, devices, and electronics that hit the market. Through my honest, research-backed Amazon product reviews, I help readers make smarter buying decisions without the hype or confusion.