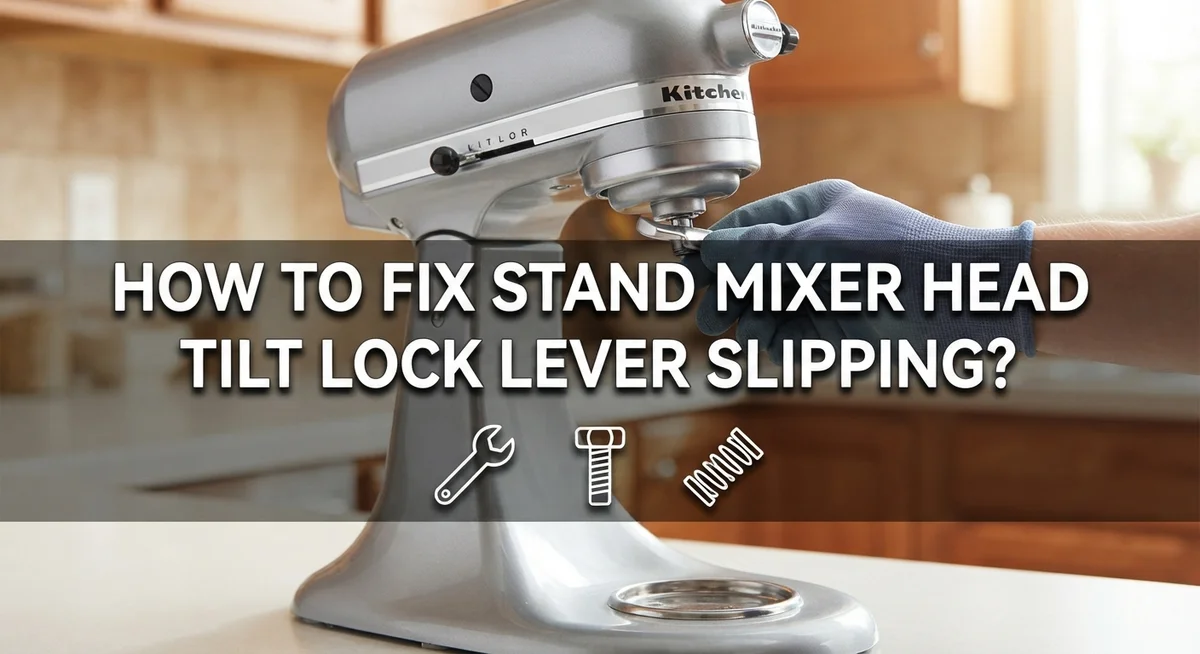
How To Fix Stand Mixer Head Tilt Lock Lever Slipping?
Does your stand mixer head wobble when you lock it? Do you hear a strange clicking sound during mixing? You are not alone.
Many bakers face this frustrating problem. The tilt lock lever slipping is a common issue with stand mixers. It happens when the locking finger mechanism wears out or the hinge pin becomes loose.
This problem can affect your mixing results. A wobbly head means uneven mixing. It can also feel unsafe when the mixer moves during use.
The good news? You can often fix this issue at home. You do not need special tools or expert skills.
In a Nutshell
- Check the hinge pin first. A worn or loose hinge pin is often the main reason your lever slips. Tighten or inspect it before trying anything else.
- Adjust the lever tension. Most lock levers have a way to tighten their grip. This simple fix solves many slipping problems fast.
- Clean the locking mechanism. Dirt and old grease can stop the lever from gripping properly. A good clean often restores smooth locking.
- Flip your mixer upside down. With the head locked, turn your mixer over. This trick helps tighten sloppy tolerances inside the mechanism.
- Shims offer only temporary relief. Adding a shim can reduce wobble for a while. But it will not fix the actual worn parts causing the issue.
- Replace worn parts if needed. If cleaning and adjusting do not work, the locking finger mechanism itself may need replacing.
Understanding the Head Tilt Lock Lever Mechanism
Your stand mixer’s head tilt lock lever keeps parts aligned during mixing. Understanding how this mechanism works helps you spot problems quickly.
The lock lever connects to a hinge pin that runs through the mixer’s body. When you push the lever down, it engages a locking finger. This finger catches on a corresponding part attached to the mixer head. The result? Your head stays firmly in place while you mix.
The hinge pin acts like the pivot point for everything. It must stay tight and properly aligned. If this pin loosens even slightly, the whole locking system becomes sloppy. Your lever will slip or feel loose when you engage it.
The locking finger mechanism is equally important. This small but crucial part must grip firmly. When it wears down from repeated use, it loses its ability to hold the head steady. The lever may still move, but it won’t lock securely.
The lever itself has tension built into its design. This tension keeps the locking finger pressed against the catch point. Over time, this tension can weaken. The lever stops gripping with the force it originally had.
All these parts work together as one system. When any single part wears or loosens, the entire mechanism fails. A worn hinge pin affects how the lever moves. A loose locking finger prevents secure engagement. Weakened lever tension reduces gripping force.
Your mixer head may wobble or make clicking sounds when these parts slip. The head might not stay locked during heavy mixing. You might struggle to unlock it afterward.
Knowing how these pieces connect helps you understand why your mixer head won’t stay locked. Each part plays a specific role. When one fails, the others cannot compensate. This is why proper diagnosis matters before you attempt repairs.
Common Causes of Lock Lever Slipping
Your stand mixer’s lock lever slips for several specific reasons. Understanding these causes helps you fix the problem correctly.
Worn locking finger mechanism is the most common culprit. This metal part creates friction to hold the lever in place. Over time and with regular use, it becomes smooth and loses its grip. When the surface wears down, the lever can’t stay engaged properly.
A loose or misaligned hinge pin causes significant problems too. This pin acts as the pivot point for your entire head tilt system. If it shifts even slightly, the lock lever loses its precise positioning. The head then wobbles during mixing, and the lever won’t catch securely.
Sloppy tolerances develop as your mixer ages. Parts that fit snugly when new gradually loosen from constant movement. Small gaps appear between components. These gaps let the head move around, making the lock lever ineffective.
Dirt and old grease can block proper engagement. When debris builds up inside the locking mechanism, the lever can’t make full contact with the locking finger. This prevents the tight grip you need to keep your head locked.
Loss of lever tension happens when the internal spring or tension mechanism weakens. Your lock lever has built in tension that creates holding power. As this tension decreases, the lever becomes less effective at staying engaged.
Poor alignment between parts creates another issue. If the locking finger and lever don’t line up correctly, they can’t lock together properly. This misalignment often results from wear or from the hinge pin shifting position.
Each of these causes produces similar symptoms: wobbling, clicking sounds, or a lever that won’t stay locked. Identifying which cause affects your mixer helps you choose the right repair solution.
Diagnosing the Problem: Step-by-Step Inspection
Start your inspection by removing all accessories from your mixer. Take off the beater, whip, and dough hook completely. This gives you a clear view of the head and lock lever without obstruction.
Next, lower your mixer head gently and engage the lock lever. Pay attention to how it feels. Does it click into place smoothly, or does it slide without resistance? Does the head stay locked, or does it creep downward? These observations tell you what’s happening inside.
Now inspect the lock lever itself. Look for visible cracks, bending, or damage to the lever arm. Run your finger along its surface to feel for rough spots or corrosion. Check where the lever connects to the mixer body. Is there any visible gap or movement when you wiggle the lever side to side?
Examine the hinge pin area carefully. This is the metal pin running through the mixer’s body that acts as the pivot point. Look for rust, discoloration, or debris around it. Gently try to move the hinge pin by hand. It should not move at all if it’s properly seated.
Finally, look at the locking finger mechanism. This is the small metal piece that the lever engages with to hold the head in place. Check if it looks worn, flattened, or deformed. Shine a light into the space between the lever and this mechanism. You should see a clean, tight fit when the lever is locked.
Document what you find. Take photos if possible. This information helps you decide whether you need simple cleaning, tension adjustment, or part replacement.
How To Fix a Slipping Lock Lever
Start by cleaning all locking parts thoroughly. Dirt and old grease often prevent proper engagement. Use a soft brush to remove debris from the hinge pin area, the locking finger mechanism, and the lever itself. Wipe everything down with a clean, dry cloth.
Next, check the hinge pin for tightness. The hinge pin runs through your mixer’s body and acts as the pivot point. If it’s loose, your head will wobble no matter what else you do. Gently wiggle the mixer head side to side. Excessive movement means the pin needs attention.
Adjust the lever tension manually if the pin feels secure. Some mixers allow you to tighten the lever’s internal tension by adjusting a small screw or bolt. Check your mixer’s manual for the exact location. Turn it slightly clockwise to increase tension. Test the lock after each small adjustment.
Flip your mixer upside down with the head locked in place. This position can help tighten sloppy tolerances that develop over time. Let it sit for a few minutes, then flip it back and test the lever again.
If the locking finger mechanism shows visible wear or damage, it likely needs replacement. Worn fingers won’t grip properly, no matter how much you adjust other parts. The same applies if the hinge pin itself is bent or damaged.
Test your lock lever after each step. Push the lever down firmly and try to move the head. It should stay completely still. If wobbling continues after these steps, the worn mechanism probably requires professional service or replacement parts.
Tightening the Hinge Pin and Reducing Tolerance Slop
The hinge pin is the central pivot that holds your mixer head in place. When this pin loosens, your entire locking mechanism becomes unstable and unreliable.
Start by locating the hinge pin on your mixer. You’ll find it running horizontally through the mixer’s body where the head connects. Check if it moves side to side or feels wobbly when you gently push on it.
A loose hinge pin is one of the easiest problems to fix. Most hinge pins secure with a simple bolt or fastener on one or both ends. Use the appropriate wrench to tighten these fasteners slowly and carefully. Don’t over tighten, as this can strip the threads or damage the pin itself.
After tightening, test your lock lever again. Engage it fully and try to move the mixer head gently. The head should feel completely solid with no wobbling or movement.
Sloppy tolerances develop naturally as your mixer ages. The gap between your locking finger and the lever creates bounce and slipping. One effective method involves flipping your mixer upside down while the head is locked in position. This position uses gravity to compress the mechanism and reduce internal gaps temporarily.
Hold this upside down position for several minutes. This allows the components to settle and can reduce tolerance slop noticeably. When you flip the mixer right side up again, test the lock lever immediately.
If tightening the hinge pin doesn’t solve the problem completely, the underlying wear may be more severe. The locking finger mechanism itself might need replacement. However, addressing the hinge pin first eliminates one major cause and often improves performance significantly.
Using Shims as a Temporary Fix
A shim is a thin spacer that you insert between two parts to reduce gaps and movement. When your lock lever slips, adding a shim can temporarily reduce the wobble and improve engagement.
This fix works because it takes up extra space in the locking mechanism. The shim pushes components closer together, making the lever feel tighter and more responsive. You can use common items like coins or thin metal pieces as temporary shims.
Here’s how to apply a shim as a temporary solution:
First, identify exactly where the excessive movement occurs. Is the wobble at the hinge pin area or at the locking finger itself? This tells you where to place your shim.
Next, remove the lock lever if your mixer design allows it. Insert your shim between the lever and its mounting point. Reinstall the lever and test the engagement. The lever should feel firmer and lock more reliably.
If the slipping happens at the hinge pin area instead, you can place a shim between the head and the mixer body. This reduces the gap that causes wobbling.
Important reality check: shims only mask the problem temporarily. They don’t fix the underlying wear or damage causing the slipping. Your mixer will continue to wear down underneath the shim.
Think of shims as a bandage, not a cure. They buy you time while you plan a permanent repair. After a few weeks or months, the slipping may return as wear continues.
For lasting results, you’ll need to address the root cause. This might mean tightening the hinge pin, adjusting lever tension, or replacing worn components. Shims work best when combined with these other repair methods.
Common Mistakes To Avoid When Repairing the Lever
When you repair your mixer’s lock lever, certain mistakes can make the problem worse or delay a real fix. Understanding what to avoid saves time and frustration.
Don’t skip the cleaning step. Many people assume dirt doesn’t matter, but grime builds up inside the locking mechanism and prevents proper engagement. Take time to clean all parts thoroughly before you attempt any adjustment or replacement.
Avoid relying only on shims as your permanent solution. A shim reduces movement temporarily, but it masks the real issue underneath. If you use a shim without addressing worn components, your lever will slip again once the shim settles or shifts. Shims work best as a short term fix while you plan a proper repair.
Never force the lock lever into position. Pushing too hard can damage the locking finger mechanism further or bend the lever itself. If the lever resists, something else needs attention first. Stop and inspect the hinge pin, locking parts, and alignment before you apply force.
Don’t overlook the hinge pin. This small component is easy to miss, but a loose pin causes most slipping problems. Always check and tighten it before you move on to more complex repairs.
Avoid replacing parts prematurely. Test each adjustment carefully. Sometimes tightening the hinge pin or adjusting lever tension solves the issue completely. You don’t need new components if the existing ones just need attention.
Finally, don’t rush the upside down flattening step. Hold your mixer inverted with the head locked for several minutes. This allows sloppy tolerances to settle naturally and can improve lever engagement significantly. Patience during this step often prevents unnecessary part replacement later.
Troubleshooting Persistent or Recurring Slipping
When your lock lever keeps slipping after initial repairs, you’re dealing with persistent wear that demands a different approach. The problem usually stems from one of three sources: the locking finger mechanism has worn down significantly, the hinge pin tolerances have become too loose, or multiple small issues are working together.
Start by carefully inspecting the locking finger itself. This is the part that catches and holds the lever in place. Run your finger along it to feel for cracks, flat spots, or smooth worn areas. If the finger looks damaged, replacement becomes necessary because no adjustment will restore a worn surface.
Next, examine the hinge pin connection points. Even after tightening, some pins continue to slip if the bolt holes have enlarged or the fastener won’t hold tension. Wiggle the mixer head side to side while watching the pin area. Excessive movement here means the pin itself may be damaged or the mounting holes are stripped.
Test the lock lever engagement multiple times in succession. Recurring slipping often indicates that heat or pressure from repeated use is causing movement. Let the mixer cool for thirty minutes, then test again. If slipping returns quickly after cooling, wear is definitely the culprit.
Document exactly when slipping occurs. Does it happen immediately after locking? After the mixer runs? Only with heavy dough? This information tells you whether the issue is mechanical wear, vibration from operation, or heat related.
If all these checks point to significant wear, the locking finger mechanism likely needs replacement. This is the most common reason why persistent slipping doesn’t respond to adjustment or temporary fixes. Contact the manufacturer for replacement parts specific to your model.
Final Thoughts
Fixing a slipping tilt lock lever does not need to feel hard. Most mixers suffer from the same three issues. These include a worn locking finger, a loose hinge pin, or built up grime.
Start with the simple steps first. Clean the mechanism and check the hinge pin. These two actions solve many slipping problems on their own.
If cleaning and tightening do not work, try the upside down flattening method. This step helps close small gaps caused by normal wear over time.
Shims can help in the short term. They fill gaps and reduce wobble right away. But remember, a shim is never a permanent fix.
Think of your mixer’s lock lever like a car’s brake pads. Small wear adds up. Ignoring it only leads to bigger problems later.
Regular checks make a big difference. Test the lever every few months, even if it feels fine. Catching wear early saves you time and stress.
If the locking finger mechanism shows heavy wear, replacement is the best long term option. This part takes the most stress during regular use.
Your stand mixer works hard for you. It deserves proper care in return. A few minutes of maintenance now can prevent bigger repairs later.
Most importantly, do not ignore small slipping issues. They rarely fix themselves and often get worse over time.
With patience and the right steps, you can restore your mixer’s lock lever function. This keeps your machine safe and steady for years of reliable baking and cooking ahead.
Frequently Asked Questions
Why does my mixer head wobble even when the lock lever is engaged?
A wobbling head usually means the locking finger mechanism has worn down or the hinge pin has loosened. When these parts lose their tight fit, the head cannot stay stable. Start by removing all accessories and testing the lever again. If wobbling continues, inspect the hinge pin to see if it has shifted or become loose. Clean the locking parts thoroughly first before assuming you need replacement parts.
Can I use a shim to permanently fix the slipping lever?
No. A shim is a temporary solution only. It reduces movement for a short time, but it does not address the underlying wear. Think of it like putting a bandage on a deeper wound. The real problem stays underneath. If you add a shim and the lever still slips after a few weeks, the locking finger or hinge pin likely needs attention or replacement.
What should I do if cleaning and tightening don’t work?
Try flipping your mixer upside down with the head locked in place. This step helps tighten sloppy tolerances that cause slipping. Leave it that way for a few hours. If slipping continues after this, inspect the locking finger mechanism closely for heavy wear or damage. Significant wear usually means the mechanism needs replacement to restore proper function.
How often should I check my mixer’s lock lever?
Test your lever every few months, even if it feels fine. Early detection stops small problems from becoming big ones. A quick engagement test takes only seconds and can save you from sudden head movement during mixing.

Hi, I’m Frankie Shaw, the founder and writer behind Swittchly 👋. I’m a passionate tech enthusiast who loves exploring the latest gadgets, devices, and electronics that hit the market. Through my honest, research-backed Amazon product reviews, I help readers make smarter buying decisions without the hype or confusion.