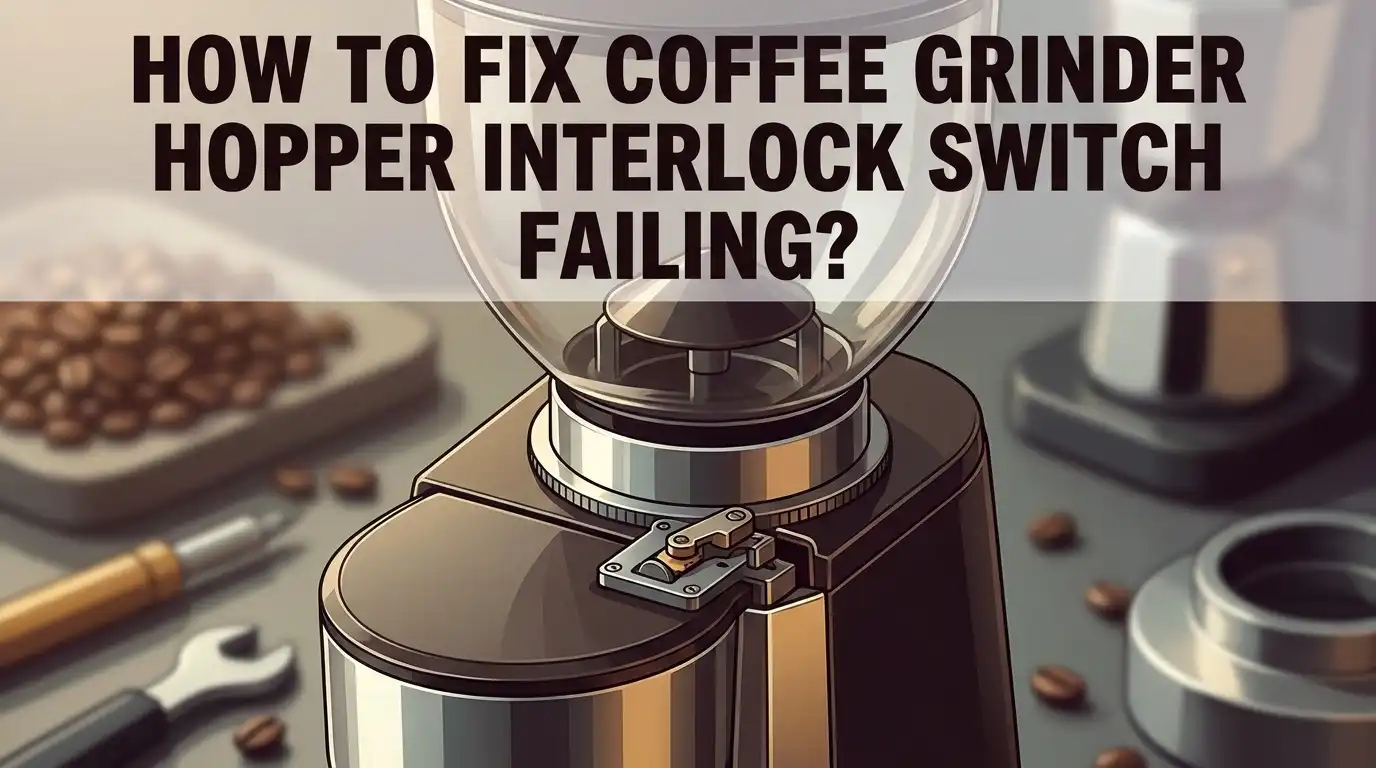
How To Fix Coffee Grinder Hopper Interlock Switch Failing?
Your coffee grinder suddenly refuses to turn on. Or worse, it starts on its own and puffs out smoke. Both problems often point to one small part: the hopper interlock switch.
This tiny safety switch stops your grinder from running unless the hopper sits in the right spot. It protects your fingers and your machine. But when it fails, your morning coffee routine grinds to a halt.
The good news? You can often fix this issue yourself. No need to rush out and buy a new grinder just yet.
In a Nutshell
- Check power and hopper seating first. Make sure your grinder is plugged in. Confirm the hopper sits flat and snug in its base.
- Look for blockages before anything else. Empty the hopper, grinding chamber, and dispensing chute. Clumped beans often trigger false switch errors.
- Try a simple power reset. Unplug your grinder for five minutes. Plug it back in with the hopper properly installed.
- Watch for smoke or auto-start behavior. This usually means the micro switch has failed completely. You will need to replace it rather than repair it.
- Inspect the plastic lid for cracks. Damaged lids stop the switch from sensing contact correctly. You can patch small cracks using melted bottle caps or plastic welding material.
- Avoid bypassing the safety switch. This mechanism protects you from injury. Never force your grinder to run without it working properly.
Following these steps helps you spot the real problem fast. Most fixes take just a few minutes once you know where to look.
Understanding the Hopper Interlock Switch and Its Purpose
The hopper interlock switch is a small safety device inside your coffee grinder. Its main job is to prevent the grinder from running when the hopper is not properly seated or installed.
Think of it as a guardian for your grinder. When you place the hopper in the correct position, this switch senses the contact and allows the motor to operate. If the hopper shifts or comes loose, the switch detects this change and stops the grinder immediately.
Why does this matter? Safety is the primary reason. Without this switch, your grinder could start spinning with the hopper removed. This creates a serious injury risk to your hands and fingers. The switch protects you from accidental contact with moving parts.
The interlock switch typically uses a simple mechanical design. A small button or lever on the switch gets pressed when the hopper sits properly in place. This pressure completes an electrical circuit that allows power to flow to the motor. When the hopper is removed or misaligned, the button releases and breaks the circuit.
Over time, this switch can fail. Dust, debris, or regular wear can damage the internal components. When it fails, your grinder may refuse to start at all. In some cases, it might auto start unexpectedly or even produce smoke.
Understanding how this switch works helps you troubleshoot problems more effectively. You will know what to look for when something goes wrong. This knowledge also helps you avoid dangerous mistakes during repairs. A working hopper interlock switch is essential for safe, reliable grinding every single time.
Signs Your Interlock Switch Is Failing
Your coffee grinder shows specific warning signs when the interlock switch starts to fail. Learning to spot these signs helps you catch the problem early.
The grinder refuses to start even when plugged in. You press the button, but nothing happens. The hopper sits in place correctly, yet the machine stays silent. This is the most common sign that something blocks the switch from detecting the hopper position.
Your grinder starts on its own without you touching it. This happens randomly, even when you walk away. A faulty micro switch can send constant signals to the motor, causing unwanted startup. This behavior is dangerous and needs immediate attention.
Smoke appears during operation or startup. Smoke means electrical components are overheating or shorting out. The faulty switch may be sending too much power to the motor. Stop using the grinder immediately if you notice smoke.
The hopper seems loose or doesn’t click into place. You position the hopper but feel it wobble or shift. The switch may not sense proper contact because the hopper sits at an angle. This prevents the grinder from recognizing that the hopper is installed.
The grinder runs intermittently and cuts off randomly. It works for a few seconds, then stops. This stuttering pattern shows the switch is making and breaking contact inconsistently.
You hear clicking sounds from inside the grinder. These clicks indicate the switch is struggling to engage. The mechanical components inside are trying to work but failing repeatedly.
Pay attention to these warning signs. They tell you exactly when your interlock switch needs help. Early detection makes repairs faster and easier.
Initial Checks: Power, Hopper Seating, and Blockages
Start by checking the most obvious issue first: power supply. Make sure your grinder is actually plugged into a working outlet. Try plugging another appliance into the same socket to confirm the outlet works properly.
Next, examine hopper seating. The hopper must sit flush and secure on the grinder body. Remove the hopper completely, then look at where it connects to the main unit. Check for any visible damage, warping, or debris around the seating area. Reposition the hopper carefully and listen for a clicking sound. This click indicates proper engagement with the interlock switch.
Clean out blockages before proceeding further. Coffee grounds can jam the mechanism and prevent the switch from activating. Empty the hopper entirely. Use a small brush or cloth to clear the grinding chamber and dispensing chute. Pay special attention to any clumps of dried coffee that may be stuck inside.
Inspect the plastic lid around the hopper connection point. Look for cracks, chips, or breaks in the plastic housing. Even small damage can prevent the interlock switch from making proper contact. If you spot cracks, this explains why your grinder won’t recognize the hopper as seated.
Try a simple power reset next. Unplug your grinder for five minutes while the hopper is installed. This clears any temporary electrical glitches. Plug it back in and attempt to start the grinder normally.
If your grinder still refuses to work after these checks, the micro switch itself may be faulty. However, completing these initial steps helps you identify whether the problem is mechanical or electrical. This information guides your next troubleshooting steps effectively.
Step-by-Step Guide to Resetting and Diagnosing the Switch
Start by unplugging your grinder from the wall outlet. Safety comes first when working with electrical appliances. Wait at least five minutes before reconnecting it. This pause allows the internal electrical system to fully discharge and reset.
Next, remove the hopper from the top of your grinder. Empty out any remaining coffee beans. Look inside the grinding chamber and check for stuck grounds or debris. Coffee can compact and block the interlock mechanism from sensing properly. Clean out the dispensing chute as well. Use a small brush or cloth to remove clumps.
Now reinstall the hopper carefully. Push it down firmly until you hear or feel a click. The hopper must seat completely for the switch to register contact. If it doesn’t click, the plastic lid might be damaged. Inspect it closely for cracks or warping.
Plug the grinder back in and try starting it. Press the power button and listen for the motor. If it starts normally, your reset worked. The switch may have just needed a power cycle to clear a temporary glitch.
If the grinder still won’t start, the micro switch itself is likely faulty. You can test this by checking if the grinder auto starts or produces smoke when powered on. These signs confirm the switch has failed electrically.
For replacement, you’ll need to access the faulty micro switch inside the lid. Disconnect the wires carefully and remove the old switch. Install a new one in the same position and reconnect the wires securely.
Test your grinder again after replacement. It should operate normally with the hopper properly seated. If problems persist, the issue may involve other electrical components beyond the interlock switch.
How to Replace or Repair a Faulty Micro Switch
A faulty micro switch requires either repair or replacement. This small component sits inside your grinder’s lid and detects when the hopper is properly seated.
Start by unplugging your grinder completely. Safety comes first when working with electrical components. Wait a few seconds before proceeding. This prevents accidental activation while you work.
Next, locate the micro switch inside the lid assembly. You’ll see it positioned near where the hopper connects. The switch has small wires attached to it. Take a photo with your phone before disconnecting anything. This helps you remember the wire positions later.
Gently disconnect the wires from the faulty micro switch. Some switches have terminals you can unscrew. Others have connectors you can simply pull apart. Work slowly and carefully to avoid damaging the wires.
Inspect the plastic housing around the switch. Look for cracks or damage that might prevent proper seating. If the plastic is cracked, you may need to repair it using plastic welding material or similar heat resistant solutions. Never use regular glue or tape for this repair.
If the switch itself is damaged, you’ll need to replace it with a new one. Match the specifications of your original switch. The replacement should have the same voltage rating and terminal type.
Install the new switch in the same position as the old one. Reconnect the wires exactly as they were before. Double check all connections are secure before plugging in your grinder.
Reinstall the hopper and test your grinder. It should start normally when the hopper is seated. If problems continue, electrical issues elsewhere in the grinder may exist.
Fixing Damaged Hopper Lid Components for Proper Contact
When the hopper lid doesn’t make proper contact with the interlock switch, your grinder won’t start. This happens because the plastic components wear down or crack over time.
First, inspect the lid carefully. Look for visible cracks, warping, or chips around the edges where the lid sits on the grinder body. Even small damage prevents the switch from activating correctly. Run your finger along the contact points to feel for rough spots or gaps.
Check the seating surface next. The flat area where the lid connects to the main body should be clean and smooth. Debris, coffee grounds, or mineral buildup can create gaps that keep the switch from engaging. Wipe this surface with a dry cloth to remove any particles.
Examine the plastic tabs or pins. Most hoppers have small plastic protrusions that push down on the switch when seated properly. If these tabs are broken or bent, the switch won’t receive the pressure it needs to activate. Gently press the hopper down to see if you feel resistance or hear a click.
For minor damage, you can repair the plastic. Melted plastic from bottle caps or plastic welding materials can fill small cracks. Heat the material carefully and apply it to damaged areas. Let it cool completely before testing.
If damage is extensive, replacement becomes necessary. A warped or severely cracked lid won’t seal properly no matter what you do. The contact points simply won’t align with the switch.
Always unplug your grinder before examining these components. Proper lid contact ensures both safety and reliable operation.
Maintenance Tips to Prevent Future Interlock Issues
Regular maintenance stops interlock problems before they start. Your grinder works best when you keep it clean and check it often.
Clean your hopper weekly to prevent debris buildup. Coffee oils and dust collect inside over time. This buildup can block the switch from making proper contact. Remove the hopper and wipe the interior with a dry cloth. Pay special attention to corners where particles hide.
Check the seating surface monthly. This is the flat area where your hopper connects to the main body. Wipe it clean with a soft cloth. Make sure no coffee grounds or dust sit on this surface. A clean seating area helps the switch activate correctly every time.
Inspect the plastic tabs regularly. These small protrusions push down on the switch when your hopper seats properly. Look for cracks, chips, or warping. Catch minor damage early before it becomes a major problem.
Empty your grinding chamber completely after each use. Leftover grounds can harden and create blockages. These blockages interfere with switch operation over time. A simple brush clears out any remaining powder.
Store your grinder in a dry location. Moisture causes rust on metal components and corrosion on electrical parts. This damages the switch mechanism. Keep your grinder away from water and humidity.
Test your hopper seating monthly by removing and reinstalling it. Listen for a click or feel for resistance. This confirms the switch engages properly. A smooth installation indicates good condition.
Replace your hopper gasket yearly if your model uses one. Worn gaskets prevent proper seating. This causes the switch to fail intermittently.
These simple steps keep your interlock switch functioning reliably for years.
Common Mistakes to Avoid During Troubleshooting
When troubleshooting your coffee grinder’s hopper interlock switch, several common mistakes can waste your time and create bigger problems. Understanding what to avoid will help you fix the issue faster.
Never operate your grinder without the hopper properly seated. This is the most critical mistake people make. The interlock switch exists to protect your machine. Running it without proper hopper installation can damage internal components or cause electrical issues. Always ensure the hopper clicks into place before turning on your grinder.
Don’t skip the blockage inspection step. Many people jump straight to testing the switch itself. Clumps, debris, or stuck beans often block the seating mechanism and prevent proper contact. Clear your grinding chamber, dispensing chute, and hopper completely before assuming the switch is faulty.
Avoid bypassing the safety switch without a proper replacement. Some people disconnect the switch wires to force their grinder to work. This creates a serious electrical hazard and voids any warranty. If the switch is broken, replace it correctly instead.
Don’t ignore power source problems. Check that your outlet works by plugging in another device. Test different outlets before concluding the switch failed. A dead outlet wastes hours of unnecessary troubleshooting.
Resist the urge to force the hopper into place. Forcing it can crack the plastic housing and damage the switch permanently. The hopper should seat smoothly with gentle pressure.
Finally, avoid skipping the reset process. Unplug your grinder for five minutes, then reconnect it with the hopper installed properly. This simple power cycle fixes many interlock issues that seem more serious than they actually are. Give this step time before moving to more complex repairs.
Final Thoughts
Fixing a coffee grinder hopper interlock switch failure does not need to be hard. Most problems come from simple issues like a loose hopper or dirty seating surface.
Start with the basics first. Check your power source. Clean out any blockages. Make sure the hopper sits properly in place.
If your grinder still won’t start, try the reset method. Unplug it for five minutes. Then plug it back in with the hopper installed correctly.
A faulty micro switch needs different treatment. If your grinder auto starts with smoke, this confirms switch failure. You will need to disconnect the faulty wires and replace the switch itself.
Small plastic damage around the lid can often be repaired at home. Melted bottle caps or plastic welding material work well for this job. This fix restores proper contact with the switch.
Regular care prevents most interlock problems. Clean your hopper often. Check the seating surface for wear. Test the fit each month to catch issues early.
Safety should always come first when dealing with this switch. Never bypass it just to make your grinder run. This switch protects you from injury during operation.
Take your time with each troubleshooting step. Rushing through inspection often leads to missed problems. A careful check now saves you frustration later.
Most interlock switch issues have simple solutions. Blockages, dirty surfaces, and loose hoppers cause the majority of failures. Only true switch damage needs replacement parts.
With patience and the right approach, you can fix most hopper interlock problems yourself. Your grinder will run safely and reliably again once you address the root cause.
Frequently Asked Questions
Why won’t my grinder start even though it’s plugged in?
The hopper may not be sitting correctly on the grinder base. The interlock switch only allows the grinder to work when the hopper is properly seated. Remove the hopper completely, then reinstall it firmly until you hear or feel a click. Make sure nothing blocks the seating surface. If this doesn’t work, unplug the grinder for five minutes, then plug it back in with the hopper installed.
What does it mean if my grinder starts by itself and produces smoke?
This is a clear sign your micro switch has failed. A faulty switch cannot control when the motor turns on and off. Stop using the grinder immediately to prevent fire risk. Smoke indicates electrical problems inside the switch mechanism. You will need to replace the micro switch component to fix this issue safely.
Can I repair the plastic around the hopper lid myself?
Yes, minor plastic damage near the lid can often be fixed at home. Small cracks or broken tabs may prevent proper seating. You can use melted plastic from similar materials or basic plastic welding methods to rebuild damaged areas. Make sure the repair is smooth so the hopper seats flush against the switch sensor.
How do I know if my outlet is the real problem?
Test your outlet first by plugging in another device like a lamp. If that device works, your outlet is fine. If nothing works in that outlet, try a different one. Many people waste time troubleshooting the grinder when the power source is actually dead or faulty.
Should I try to bypass the interlock switch myself?
No. Never bypass the safety switch without proper replacement. This switch prevents the grinder from running when the hopper is loose or missing. Operating without it creates serious burn and injury risks. Always replace a faulty switch with a working one.

Hi, I’m Frankie Shaw, the founder and writer behind Swittchly 👋. I’m a passionate tech enthusiast who loves exploring the latest gadgets, devices, and electronics that hit the market. Through my honest, research-backed Amazon product reviews, I help readers make smarter buying decisions without the hype or confusion.