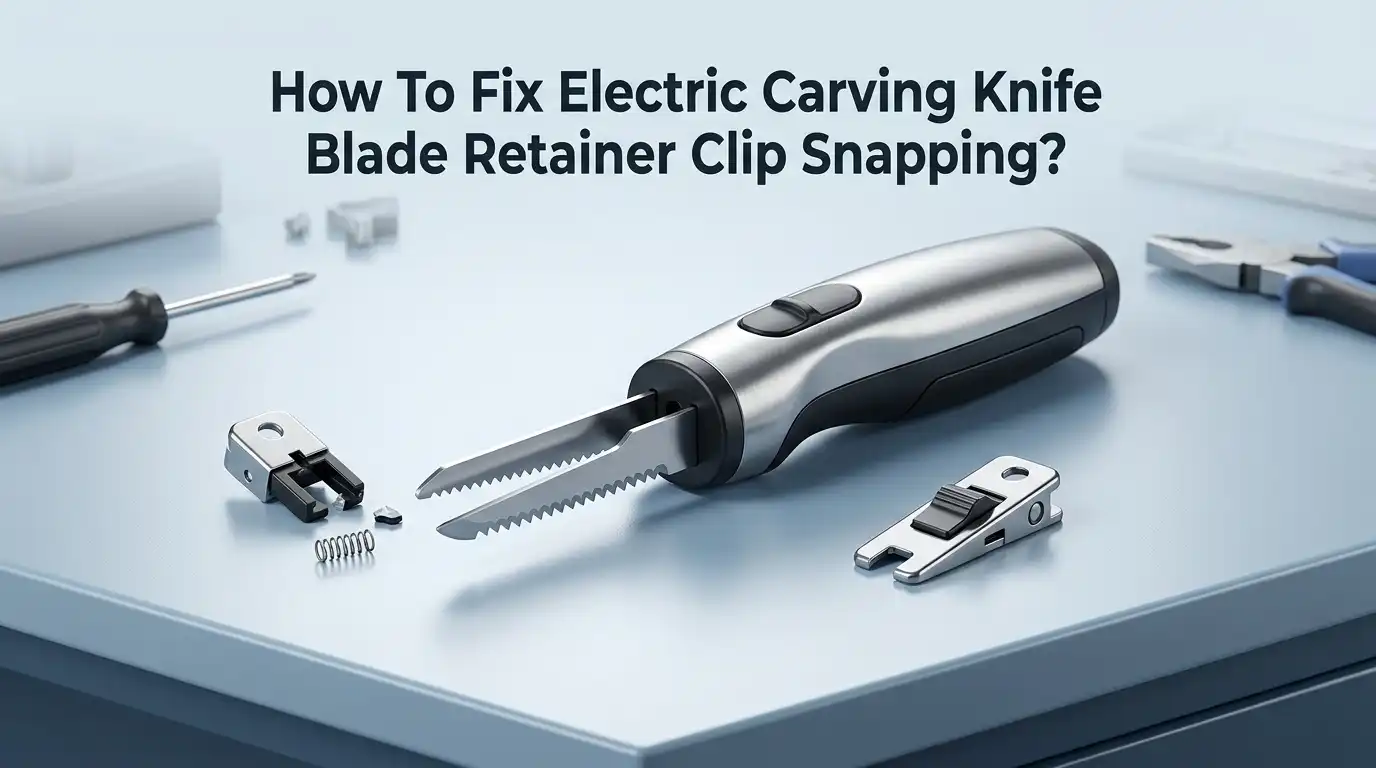
How To Fix Electric Carving Knife Blade Retainer Clip Snapping?
Your electric carving knife makes holiday dinners so much easier. But what happens when the blade retainer clip snaps?
This small part plays a big role. It holds the blade firmly in place during use. Without it, your knife becomes unsafe to operate.
A snapped clip can happen for many reasons. Age, wear, and even minor carving mistakes add stress to this tiny component. The good news is that you don’t need to panic.
In a Nutshell
- Turn off and unplug your knife before you touch anything. Safety comes first when you open up the blade area.
- Check the clip position at the blade end. A snapped or loose clip often just needs proper reseating.
- Reposition the clip gently and push until you hear a clear click. That sound means it engaged correctly.
- Add a drop of oil if the blade or clip feels stuck. This helps parts move smoothly again without force.
- Pull stuck blades straight out. Never twist or angle them, since this can bend or snap the clip further.
- Use pliers or a cloth for extra grip on stubborn parts. This gives you better control without slipping.
- Skip complex electrical fixes. If the issue goes beyond the clip, call a qualified technician instead.
Understanding the Blade Retainer Clip Mechanism
The blade retainer clip is a small but essential component in your electric carving knife. This clip holds the blade firmly in place so it stays secure during cutting. Without it working properly, your blade can shift or fall out unexpectedly.
The clip mechanism works like a simple locking system. The blade slides into a slot at the knife’s head. The retainer clip then snaps over the blade’s end to keep it locked in position. You should hear a distinct click when the clip engages correctly.
The clip itself is usually made from plastic or metal. Plastic clips are lighter but can break more easily. Metal clips are stronger but may bend under stress. Both types can snap if you force the blade in at the wrong angle or pull too hard when removing it.
Understanding how this mechanism functions helps you fix problems faster. The clip sits in a pocket or groove at the blade’s end. When you insert a blade, you align it straight into the slot. Then you push until the clip snaps into its locked position.
Common reasons clips snap include forcing blades in at angles, pulling blades out with twists instead of straight pulls, and dropping the knife. Repeated stress on the clip weakens it over time. Older knives may have clips that are already brittle and more prone to breaking.
Knowing these details matters because it prevents future damage. When you insert or remove blades, move slowly and deliberately. Always pull straight out, never at angles. This simple habit keeps your clip healthy and extends your knife’s lifespan significantly.
Signs Your Retainer Clip Has Snapped or Is Failing
Your blade retainer clip sends you warning signs before it completely fails. Learning to spot these signals helps you catch problems early and prevent total breakdown.
Listen for unusual sounds when you operate the knife. A healthy clip makes a clear, satisfying click when the blade locks into place. If you hear grinding, rattling, or a dull thud instead, the clip is likely damaged or wearing out.
Check if the blade feels loose during use. Grab the blade gently while the knife is unplugged and try to wiggle it side to side. A properly working clip holds the blade rock solid. Any movement or play means the clip is failing.
Watch for the blade shifting position while you carve. If the blade drifts or feels unstable mid cut, the retainer clip is not holding properly. This creates an unsafe situation and makes clean cuts impossible.
Inspect the clip itself for visible cracks or breaks. Unplug the knife and look closely at the clip area near the blade end. You may see obvious damage like splits, pieces missing, or permanent bending.
Notice if the blade feels harder to remove than normal. A failing clip sometimes grips too tightly or grips unevenly. The blade may stick on one side while the other side is loose.
Feel for resistance when inserting a blade. If you need to force the blade in more than usual, the clip pocket may be damaged or misaligned. This extra force can snap the clip completely.
These warning signs tell you the clip needs attention now. Addressing problems early prevents your knife from becoming unusable and keeps your carving experience safe and smooth.
Tools and Preparation Needed Before Repair
Before you start fixing your electric carving knife’s blade retainer clip, gather the right tools. Having everything ready prevents frustration and keeps you safe during the repair process.
Basic hand tools make up your first set of essentials. You’ll need a small flathead screwdriver to open the knife housing and access the clip mechanism. A Phillips head screwdriver handles other fasteners you might encounter. Keep both sizes nearby before you begin disassembly.
Pliers or a cloth help you grip stuck or stubborn components. Regular slip joint pliers work well for holding small parts steady. A soft cloth protects plastic clips from getting scratched or cracked further during handling. Needle nose pliers are useful if you need to reposition tiny clip pieces inside tight spaces.
Lubrication matters more than you think. A small container of light machine oil or silicone spray reduces friction on stuck blades. Apply just one small drop to problem areas. Too much oil creates mess and attracts dust into the knife mechanism.
Safety gear keeps you protected. Wear safety glasses to shield your eyes from small parts that might pop out during disassembly. Work gloves prevent cuts from sharp blade edges. Keep a first aid kit nearby just in case.
Workspace preparation is equally important. Clear a clean, flat surface with good lighting. Lay out a towel to catch small screws and clips that might roll away. Have a small container ready to hold fasteners in order as you remove them.
Documentation tools help you remember how things go back together. Take photos or videos as you disassemble each step. This visual guide prevents confusion during reassembly.
Step-by-Step Guide to Disassembling the Knife
Start by unplugging your electric carving knife from the wall outlet. Safety comes first, and you never want electricity running through the device while you work on it.
Locate the blade housing at the front of the knife. This is where the blade retainer clip sits. Look for any screws or fasteners holding the housing together. Most electric carving knives have 2 to 4 screws along the sides or bottom of the blade area.
Use a screwdriver that fits the screw heads properly. Stripping screws makes reassembly harder later. Remove each screw slowly and place them in a small container so you don’t lose them.
Gently pull the blade housing apart. Some housings slide off, while others lift straight up. Don’t force anything if it feels stuck. Check for any clips or tabs holding the housing in place and release them first.
Once the housing opens, you’ll see the blade retainer clip directly. Take a photo or video with your phone before removing anything. This helps you remember how everything fits back together.
Look at how the clip connects to the housing. Note which direction it faces and how it locks into position. The clip usually has a small tab or hook that engages with a slot in the housing.
If the clip appears cracked or broken, mark it clearly. You’ll need to replace this part or reposition it properly. For stuck blades still in the housing, apply a small drop of oil around the blade edges and let it sit for a few minutes before attempting removal.
How to Remove and Replace a Snapped Retainer Clip
Removing a snapped retainer clip requires patience and careful handling. Start by ensuring your knife is unplugged and completely cool before you begin work.
Locate the blade housing where the clip sits. You’ll find it at the front end of your knife. Gently loosen any screws holding the housing together using the correct screwdriver size. This prevents stripping the screw heads.
Pull the housing apart slowly to avoid breaking additional components. Take a photo before you separate pieces so you remember how they fit back together.
Once the housing opens, you can see the damaged clip clearly. Most clips sit in a pocket or groove along the blade path. If the clip is snapped, you may need to remove it completely by gently prying it out with a flat tool or your fingers.
When removing a stuck clip, apply a small drop of oil around the edges. Let it sit for a minute so the lubricant penetrates. Then gently work the clip loose by rocking it side to side rather than pulling straight.
Handle the clip carefully even though it’s broken. Sharp edges might exist where it snapped. If you’re replacing the clip, order the correct replacement model for your knife.
Before reassembling, inspect the blade pocket for debris or damage. Clean out any dust or food particles. Check that the blade itself has no bent edges that might prevent proper seating.
When you’re ready to reassemble, insert the new or existing clip into its pocket. You should hear a distinct click or snap when it seats properly. This audible feedback tells you the clip engaged correctly. Finally, reattach the housing and tighten screws firmly but not excessively.
Reinserting the Blade and Confirming Proper Engagement
Now that you’ve removed the damaged clip and prepared your blade, it’s time to put everything back together. This step makes sure your blade stays secure and your knife works safely.
Start by holding the blade horizontally in front of you. The blade has a small pocket or slot at its base where the retainer clip sits. Align this pocket with the clip opening on the knife housing. Move slowly and deliberately to avoid misaligning the components.
Gently slide the blade into position. You should feel the blade settle into place as it meets the housing. The pocket at the blade’s base needs to line up perfectly with where the clip will engage. Take your time with this alignment.
Now comes the critical moment. Listen carefully as you push the blade fully into the housing. You’ll hear a distinct snap or click sound when the retainer clip engages properly with the blade pocket. This audible feedback tells you the connection is secure.
If you don’t hear that snap, stop immediately. Pull the blade straight out and realign it. Never force a blade into position. Forcing creates additional stress on both the blade and housing.
After you hear the engagement sound, gently try to wiggle the blade side to side. A properly seated blade should feel solid with minimal movement. The clip should hold the blade firmly in place without any shifting.
Test the blade by pulling it straight outward with moderate pressure. It should resist your pull. If the blade slides out too easily, the clip isn’t engaged correctly. Remove it and try reinserting it again.
Once everything feels secure, reassemble the housing and plug your knife back in for testing.
Troubleshooting Stuck Blades and Clips
When your blade feels stuck or won’t come out smoothly, the retainer clip is often the culprit. A snapped clip loses its grip strength, making the blade difficult to remove or causing it to rattle during use.
Start by checking if the blade moves at all. Gently wiggle it side to side. If it budges slightly, the clip may be partially broken rather than completely snapped. Apply a tiny drop of oil around the blade base where it meets the housing. Let it sit for two minutes so the lubricant can penetrate.
Now attempt to pull the blade straight outward. This matters greatly. Pulling at an angle stresses the remaining clip pieces and can cause further breakage. Use steady, even pressure. If the blade still won’t budge, apply more oil and wait another minute.
For stuck clips inside the housing, use a cloth or soft pliers to grip the clip gently. Avoid twisting or bending it forcefully. Loosen the chuck slowly if your knife has one, as aggressive loosening can damage the mechanism further.
If the blade finally comes free, inspect both the blade and clip carefully. Look for cracks, chips, or permanent deformation. A clip with minor damage might still function after reinsertion if positioned correctly.
When reinserting, align the blade pocket precisely with the clip opening. Slide it in slowly until you hear that distinct snap sound. This audible click confirms proper engagement and means the clip has gripped the blade securely.
If the blade still won’t stay put after these steps, the clip needs replacement. This typically requires accessing the internal mechanism, which we covered in the disassembly section.
Mistakes to Avoid During Repair
Repairing your electric carving knife requires care. Several common mistakes can make the situation worse and damage your knife further.
Forcing stuck components is the biggest error people make. Never yank the blade hard or pull it at odd angles. This action can break the clip pocket itself, creating a much larger problem. Always pull the blade straight outward with steady, gentle pressure. If resistance occurs, stop and apply a tiny drop of oil around the blade base.
Don’t skip the lubrication step. Many people try to force dry blades out immediately. Oil reduces friction and prevents clip damage. Wait a few minutes after applying oil, then try again.
Ignoring electrical safety is dangerous. Never attempt to repair internal electrical components yourself. If your knife won’t power on or sparks appear, consult a qualified electrician. Electrical issues require professional expertise.
Avoid reassembling too quickly. After removing the clip, inspect the blade pocket carefully for debris, cracks, or bent metal. Rushing this step means you’ll install a new clip into a damaged pocket, and it will fail again.
Don’t reuse severely damaged clips. A cracked or permanently bent clip won’t hold your blade safely. Replace it instead of attempting repairs on the clip itself.
Never ignore unusual sounds or loose blades during operation. These signs mean the clip is failing. Stop using the knife immediately and fix the problem.
Careless handling of the housing also causes problems. The plastic housing cracks easily if you pry it apart too aggressively. Use gentle, steady pressure when separating the housing halves.
Finally, don’t skip the engagement test. After reassembling, you must hear a clear snap when the blade seats properly. This sound confirms the clip is working correctly.
Final Thoughts
Fixing a snapped blade retainer clip is a simple task. You do not need special tools or advanced skills. Patience and careful steps make all the difference.
Always work slowly when you disassemble the knife. Rushing causes more damage. Take your time with each part.
Remember to pull blades straight out every time. Angled pulls stress the clip and blade pocket. This small habit prevents future snapping.
A tiny drop of oil solves many stuck blade problems. It reduces friction without harming the metal. Use it whenever parts feel tight.
Listen for that audible click during reassembly. This sound confirms the clip has engaged properly. Skipping this check often leads to loose blades later.
Inspect your clip and blade regularly for cracks or bends. Small defects grow into bigger problems over time. Catching issues early saves you money and hassle.
If the clip looks damaged beyond repair, replace it. A worn clip cannot hold the blade safely. Safety should always come first.
Avoid forcing any part of the mechanism. Force breaks components and creates safety hazards. Gentle, steady movements work best every time.
Leave electrical issues to qualified technicians. Internal wiring and motor problems need professional attention. Your job is the blade and clip mechanism only.
Practice makes this repair easier each time you do it. Most users become confident after one or two attempts. Soon this fix will feel like second nature.
With the right approach, your electric carving knife will work like new again. A secure blade means safer, smoother carving for every meal you prepare.
Frequently Asked Questions
Can I fix a snapped retainer clip myself or do I need a professional?
You can fix many snapped clip issues on your own. Simple fixes like reinserting the blade or replacing the clip are DIY friendly. However, if the clip broke due to internal electrical damage or the housing cracked, you should contact a qualified technician. Know your limits before attempting any repair.
What causes retainer clips to snap in the first place?
Clips snap from repeated stress and wear. Forcing blades in at wrong angles damages them quickly. Pulling blades sideways instead of straight out puts pressure on the clip. Over time, normal use can weaken the plastic or metal. Poor storage and accidental drops also cause snapping.
How do I know if my clip needs replacement or just repositioning?
Inspect the clip carefully under good light. If you see cracks, breaks, or permanent bends, replacement is necessary. If the clip looks intact but the blade won’t stay, try repositioning it first. Listen for that audible click when you reinsert the blade. No click means the clip may need adjustment or replacement.
Should I lubricate the clip area before reassembling?
Yes, a small drop of oil helps. Use food grade oil if the knife contacts food. Oil reduces friction and makes stuck clips easier to move. Don’t oversaturate the area. Wipe away excess oil with a cloth before using the knife again.
When should I call an electrician instead of DIY repair?
Call a professional if you notice electrical problems like sparking, burning smells, or the motor not starting. Never open electrical compartments yourself. If the knife stops working after your clip repair, have it inspected. Safety comes first with electrical appliances.

Hi, I’m Frankie Shaw, the founder and writer behind Swittchly 👋. I’m a passionate tech enthusiast who loves exploring the latest gadgets, devices, and electronics that hit the market. Through my honest, research-backed Amazon product reviews, I help readers make smarter buying decisions without the hype or confusion.