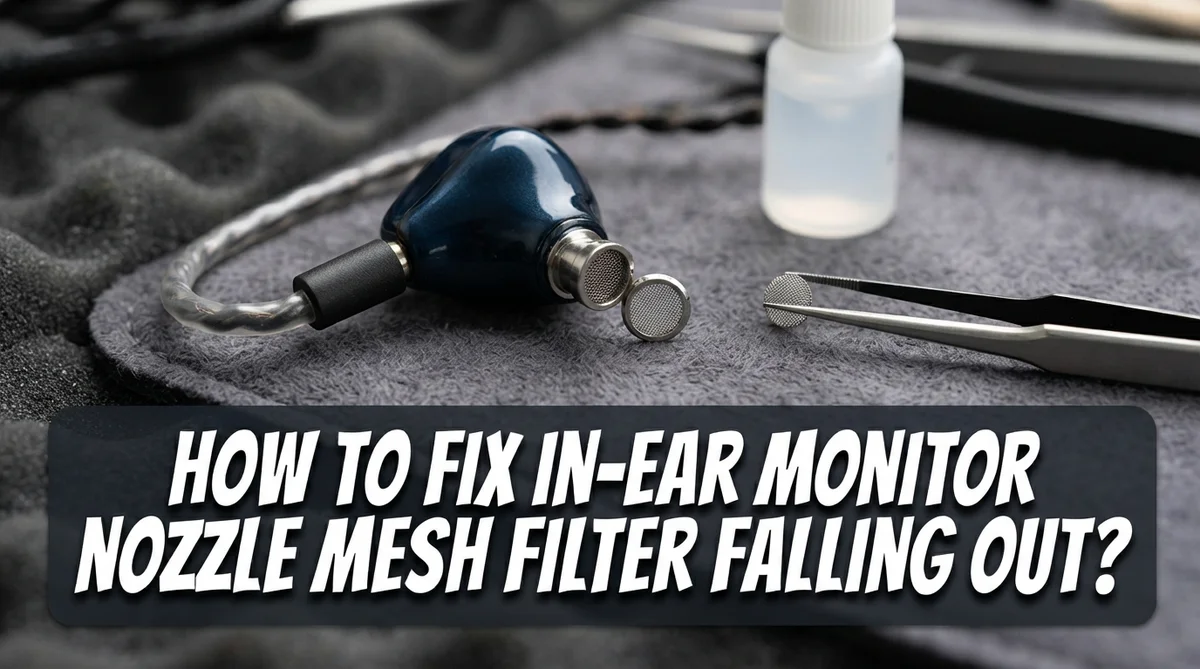
How To Fix In-Ear Monitor Nozzle Mesh Filter Falling Out?
Have you ever pulled off your earbuds and noticed a tiny piece missing? That small part is the nozzle mesh filter. It falls out more often than you think.
This little screen protects your ears from wax and debris. It also keeps dust away from the tiny speaker inside. When it goes missing, your sound quality can change fast.
You might hear a buzzing noise. Sometimes the bass sounds weak or strange. This happens because the filter helps control airflow and sound waves.
The good news is that this problem has simple fixes. You do not need to buy a brand new pair right away. Most people can solve this issue at home with items they already own.
In this guide, we will show you why the mesh filter falls out. We will also explain how to put it back safely. You will learn tips to stop this from happening again.
By the end of this article, your in-ear monitors will feel brand new again. Let’s get your sound quality back on track.
In a Nutshell
Here is a quick recap of everything we covered. Use this list to fix your loose filter fast.
-
Check the damage first. Look inside the nozzle with good light. See if the mesh is loose, torn, or totally gone.
-
Clean the nozzle gently. Use a soft, dry brush to remove wax buildup. This step prevents future filters from falling out.
-
Use a tiny drop of glue. Apply a small amount of safe adhesive around the filter’s edge. This holds the mesh firmly in place.
-
Replace the filter if needed. Some in-ear monitors have swappable filters. Swap the old one out for a fresh piece.
-
Avoid pushing too hard. Never poke the mesh with sharp objects. This can push it deeper or damage the sound quality.
-
Test the sound quality. Put your earbuds back in after fixing them. Make sure the audio sounds clear and balanced again.
Following these simple steps keeps your earbuds working like new. Your ears stay protected, and your music stays crisp.
Understanding the Nozzle Mesh Filter and Its Purpose
The nozzle mesh filter sits at the very tip of your in-ear monitor. It’s a tiny screen that catches earwax, dust, and other particles before they reach your ear canal. This small barrier plays a big role in keeping your hearing safe and your device clean.
Your earbuds produce sound through a small speaker inside the nozzle. The mesh filter sits right in front of this speaker opening. It blocks unwanted debris while still allowing sound waves to pass through clearly.
Without this filter, earwax and dirt would travel directly into your ear. Over time, buildup inside the nozzle would damage the speaker itself. The filter protects both your ears and the internal components of your monitors.
The mesh is usually made from a thin, flexible material. It’s designed to stay in place through friction and sometimes a small lip around the nozzle edge. When the fit loosens, the filter can slip out during normal use.
You’ll notice the filter missing when sound quality drops or you see a visible gap at the nozzle tip. Some people experience reduced volume or a hollow sound. Others see visible debris where the filter should be.
Understanding how this filter works helps you appreciate its importance. A functioning mesh filter keeps your in-ear monitors sounding crisp and clear. It also extends the lifespan of your device by preventing internal damage.
The filter needs regular attention because it collects material constantly. Even with careful use, the seal weakens over time. Knowing what the filter does makes it easier to recognize when something feels wrong with your earbuds.
Common Causes of a Loose or Falling Mesh Filter
Earwax buildup is the most common reason your mesh filter loosens. When wax accumulates around the filter’s edge, it creates pressure that pushes the filter outward. Over time, this buildup dries and hardens, weakening the seal between the filter and nozzle.
Moisture and humidity also cause filters to fall out. Sweat from your ears or rain exposure can seep into the nozzle area. This moisture weakens any adhesive holding the filter in place. The filter then becomes loose and eventually drops out.
Repeated insertion and removal of your earbuds stresses the filter connection. Each time you put them in or take them out, you create small movements. These movements gradually loosen the filter’s grip on the nozzle. After months of regular use, the filter may separate completely.
Poor fit between the filter and nozzle happens during manufacturing. Some in-ear monitors have slightly loose tolerances. This means the filter wasn’t snug from the start. These units need extra care to keep the filter secure.
Damage to the nozzle itself can prevent proper filter seating. If the nozzle gets bent, cracked, or dented, the filter won’t fit tightly. Dropping your earbuds or accidentally sitting on them causes this type of damage.
Aggressive cleaning with sharp tools damages the filter connection. Poking inside the nozzle with toothpicks or needles can break the mounting points. This makes it impossible for the filter to stay attached properly.
Hard impacts to your earbuds can dislodge filters instantly. Dropping them on hard floors or squeezing them in tight pockets creates sudden force. The filter may pop out immediately or become loose enough to fall out later.
Tools and Materials Needed for the Fix
Fixing your in-ear monitor mesh filter requires just a few basic items. You probably have most of these at home already.
Light source comes first. A small flashlight or desk lamp helps you see inside the nozzle clearly. Good lighting makes the entire repair process easier and faster. You’ll spot any debris or damage that might affect the fix.
Cleaning supplies are essential. Grab a soft brush, cotton swabs, and a lint-free cloth. These items remove wax and dust without scratching delicate parts. Never use paper towels because they leave fibers behind.
Safe adhesive matters for permanent fixes. You need something that dries clear and stays flexible. It should be safe for items going near your ears. Avoid anything toxic or harsh smelling.
Replacement filters may be necessary. Check if your specific in-ear monitor model has replacement filters available. Some earbuds use universal filters while others need exact matches. Knowing this beforehand saves you time.
Basic tools round out your kit. A small magnifying glass helps you see tiny details. Tweezers let you handle small parts safely. A small bowl holds any tiny pieces during work.
Protective items keep you safe. Wear gloves to prevent oils from your hands affecting the adhesive. Work on a clean, flat surface where parts won’t roll away.
Optional but helpful items include a small container for organizing screws or components and a reference photo of your earbuds before disassembly. These prevent confusion during reassembly.
Gathering these materials before you start prevents frustration. You won’t need to stop halfway through searching for something. Preparation makes the repair smooth and successful.
Step-by-Step Guide to Reattaching the Mesh Filter
Start by examining your nozzle closely. Use your light source to see exactly where the mesh filter sits. The filter should rest flush against the nozzle opening without any gaps.
Clean the nozzle tip first. Use a soft, dry cloth to wipe away any earwax, dust, or debris. A clean surface helps the filter reattach properly. Make sure both the nozzle and the filter are completely dry before proceeding.
Gently pick up your mesh filter. Handle it with care to avoid tearing it. Position it directly over the nozzle opening. The filter should align perfectly with the circular opening at the tip.
Press the filter down slowly and evenly. Apply gentle, steady pressure across the entire filter surface. You should feel slight resistance as the filter seats into place. Stop immediately if you encounter hard resistance.
Check that the filter sits flush. Look at it from different angles to confirm there are no raised edges or gaps. The mesh should appear smooth and level with the nozzle tip.
If the filter won’t stay in place, consider using a safe adhesive. Apply a tiny amount around the filter’s outer edge only. Never apply adhesive to the mesh itself, as this blocks sound and traps particles.
Allow any adhesive to cure fully before using your earbuds. Follow the specific curing time recommended for your adhesive type.
Test the connection by gently tugging the filter. It should not move or lift away. If it does, reapply adhesive and wait longer for proper bonding.
Once secure, your earbuds are ready to use again. The filter should now stay in place during normal use.
Alternative Fixes Using Adhesive or Replacement Filters
When your mesh filter won’t stay in place even after cleaning and reinserting, adhesive solutions offer a practical next step. Cyanoacrylate based adhesives work well for this purpose because they create a strong bond without adding bulk to your nozzle. Apply just one tiny drop to the inner rim of the nozzle, not directly onto the filter itself.
Position the mesh filter carefully and press it down for about 30 seconds. The adhesive sets quickly, so work slowly to avoid misalignment. Let it cure for the full time recommended by the adhesive instructions before inserting your earbuds into your ears. This waiting period prevents the adhesive from transferring to your ear canal.
If adhesive feels too permanent or risky, replacement filters are your safer option. Many in ear monitor manufacturers sell replacement mesh filters separately. These filters come in standard sizes that fit most nozzles. Order the correct size for your specific model to ensure a proper fit.
Installing a replacement filter follows the same process as reattaching your original one. Clean the nozzle thoroughly before inserting the new filter. Press it down evenly until it seats completely. New filters often grip better than worn ones because the material hasn’t been compressed by repeated use.
Keep replacement filters on hand if you use your earbuds frequently. This prevents downtime when a filter falls out unexpectedly. Store extras in a clean, dry container away from dust and moisture. Having backups means you can swap filters immediately rather than rushing to find a solution.
Both adhesive and replacement approaches work effectively. Choose adhesive for a quick fix on your current filter. Choose replacement filters when your mesh shows visible wear or damage beyond simple reinsertion.
Tips for Preventing Future Filter Detachment
Your mesh filter stays secure when you build good habits around your earbuds. Start by handling your in-ear monitors gently during daily use and storage. Avoid dropping them or placing them in tight pockets where pressure builds up.
Store your earbuds in a protective case designed for this purpose. A case keeps dust away from the nozzle area and prevents accidental impacts. Make sure the case has soft padding inside.
Clean your nozzles regularly but carefully. Use a soft, dry cloth to wipe the nozzle tip at least once a week. This prevents debris from collecting around the filter edges.
Inspect your filters every few weeks for signs of wear or loosening. Catch problems early before the filter falls out completely. A quick visual check takes just seconds.
Avoid extreme temperature changes. Heat and cold can cause materials to expand and contract, which loosens the filter fit over time. Keep your earbuds at room temperature whenever possible.
Remove earbuds slowly and carefully from your ears. Tugging hard can put stress on the nozzle and filter connection. Take your time during removal.
Never use your earbuds while exercising in humid conditions without drying them afterward. Moisture can weaken adhesive bonds if you used them during a previous fix.
Keep replacement filters available if your earbuds are important to you. Having extras means you can swap out a damaged filter immediately instead of struggling with temporary fixes.
Charge your earbuds in a safe spot where they won’t roll off tables or get stepped on. Physical damage remains the top cause of filter detachment.
These simple practices extend your filter’s lifespan significantly.
Common Mistakes to Avoid During Repair
Many people rush through the reattachment process and skip the cleaning step. This is your first mistake. A dirty nozzle prevents the filter from sitting properly, no matter how hard you press it down.
Applying too much force is another common error. Your mesh filter is delicate. Pushing too hard can damage the filter or crack the nozzle itself. Work gently and let gravity help you. Press down with steady, light pressure instead.
Some users forget to dry their nozzles completely before reattaching the filter. Moisture creates a slippery surface. Your filter will pop out again within hours. Always use a dry cloth or let the nozzle air dry for a few minutes.
Using the wrong adhesive is a serious mistake. Super glue or permanent epoxy can damage your earbuds permanently. These adhesives seep into the nozzle opening and ruin the sound quality. If you choose adhesive, select only options designed for electronics.
Don’t ignore loose filters in the early stages. Many people notice their filter feels slightly loose but keep using their earbuds anyway. This small problem becomes a big problem fast. Address it immediately when you first notice movement.
Storing your earbuds incorrectly after repair causes filters to fall out again. Tossing them in your pocket or bag creates pressure that dislodges the filter. Use your protective case every single time.
Finally, avoid repairing your earbuds while tired or distracted. You need focus to handle small components carefully. Set aside time when you can work slowly and pay attention to each step.
Troubleshooting Persistent Filter Issues
When your mesh filter keeps falling out despite your best efforts, you’re dealing with a persistent issue that needs a different approach. This usually means the nozzle itself has become damaged or the filter’s grip has weakened over time.
Start by examining the nozzle opening closely. Look for cracks, chips, or deformation around the edges. A damaged nozzle won’t hold any filter securely, no matter how carefully you install it. If you see visible damage, the nozzle may need professional repair or replacement.
Check if the filter’s retention ring has become loose or warped. Gently try rotating the filter to see if it moves freely without resistance. A filter that spins too easily won’t stay put. The retention mechanism may have lost its tension and needs adjustment or replacement.
Consider the filter material itself. Over time, mesh filters can become compressed or lose their elasticity. A worn out filter won’t grip the nozzle properly anymore. Inspect the filter for permanent deformation or flattening. If the material looks permanently damaged, replacement is your best option.
Test your earbuds with a different filter if you have a spare one available. This tells you whether the problem is the filter or the nozzle. If a fresh filter stays in place, your original filter is the culprit. If the new filter also falls out, your nozzle has an issue.
Document when the problem started and how often it occurs. Does it happen immediately or after several hours of use? This information helps you understand whether you’re dealing with a manufacturing defect or gradual wear. Keep detailed notes about what you’ve already tried. This prevents you from repeating unsuccessful steps and helps you identify what actually works for your specific situation.
Final Thoughts
Fixing a loose mesh filter is a simple task once you know the right steps. You don’t need special skills or expensive tools to solve this problem.
Most filter issues come from normal wear and tear. Your earbuds work hard every day, so small parts can shift over time.
The key is acting quickly when you notice a problem. A loose filter today becomes a missing filter tomorrow if you ignore it.
Patience matters more than speed during any repair. Rushing leads to mistakes that create bigger problems down the road.
Remember that prevention saves you time and stress. Good habits around cleaning and storage keep your filters secure for longer periods.
Your earbuds are an investment worth protecting. A few minutes of care each week prevents hours of frustration later.
If your first repair attempt doesn’t work, don’t give up. Try a different method or check for issues you might have missed.
Sometimes the problem lies deeper than the filter itself. The nozzle or retention ring might need attention too.
Keep spare filters on hand for quick fixes. This small step saves you from being caught without a solution.
Trust your own judgment about when a problem needs professional help. Some issues are simple, and others require expert eyes.
Your listening experience depends on these tiny filters working properly. They protect your earbuds from dust and earwax buildup.
Taking care of this small part makes a big difference in sound quality and earbud lifespan.
With the right approach, you can keep your mesh filters secure for months or even years. Stay consistent with maintenance, and your earbuds will reward you with reliable performance every single day.
Frequently Asked Questions
Why does my mesh filter fall out so easily?
Mesh filters fall out due to several reasons. The nozzle opening may have become stretched over time from repeated insertions and removals. Dust and debris can accumulate around the retention ring, preventing a secure fit. Moisture or sweat can also weaken the seal. Sometimes the filter material itself degrades with age and loses its grip.
Can I reuse a fallen out filter?
Yes, you can reuse your filter in most cases. Inspect it first for damage or tears. Clean it gently with a soft, dry cloth to remove any debris. Check that the retention ring feels firm and hasn’t warped. If the filter looks intact and the ring is still round, it’s safe to reattach.
How often should I replace my mesh filters?
Replacement frequency depends on your usage and environment. If you use your earbuds daily, consider replacing filters every 3 to 6 months. People who exercise frequently or work in dusty environments may need replacements more often. Listen to your ears. If sound quality drops or filters fall out constantly, replacement time has arrived.
What should I do if the nozzle opening is damaged?
A damaged nozzle opening makes filter retention difficult. Examine it closely under good lighting. Minor surface scratches don’t usually affect function. However, if the opening is cracked, enlarged, or has deep gouges, the filter won’t stay secure. In this case, professional repair or replacement of the earbud may be necessary.
Is the filter mesh important for sound quality?
Absolutely. The mesh filter protects your earbud’s speaker from dust and earwax buildup. It also affects sound by filtering frequencies slightly. A missing or damaged filter compromises both protection and audio quality. Your earbuds perform best when filters are clean and properly attached.

Hi, I’m Frankie Shaw, the founder and writer behind Swittchly 👋. I’m a passionate tech enthusiast who loves exploring the latest gadgets, devices, and electronics that hit the market. Through my honest, research-backed Amazon product reviews, I help readers make smarter buying decisions without the hype or confusion.