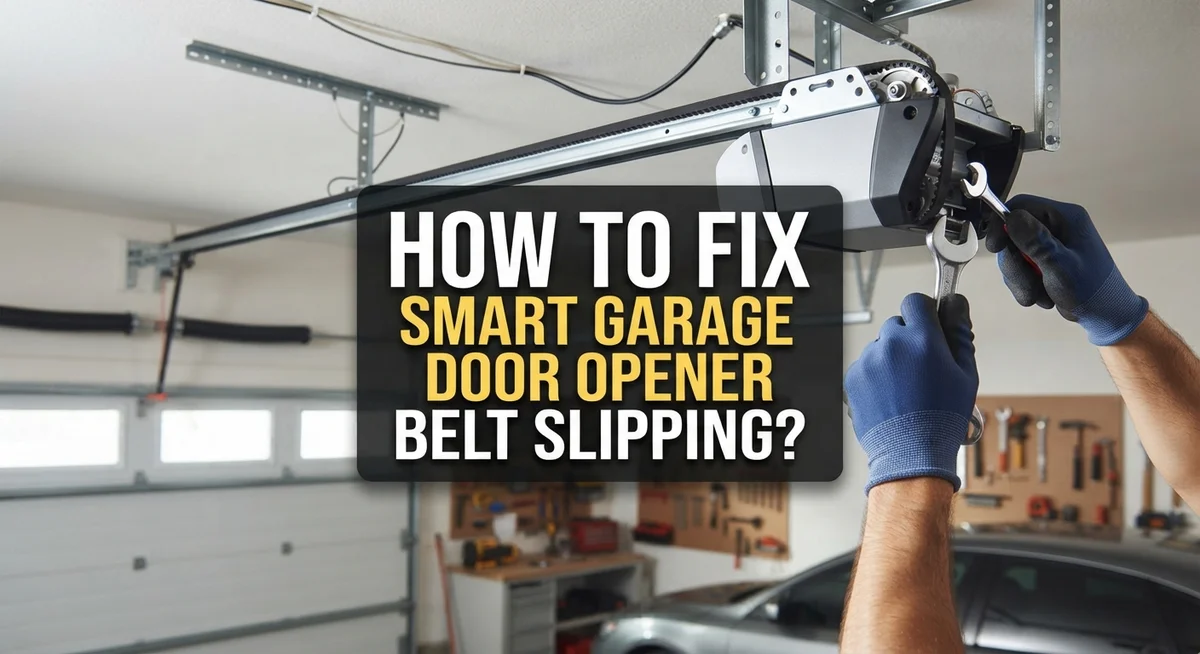
How To Fix Smart Garage Door Opener Belt Slipping?
Does your smart garage door make a strange noise every time it opens? Maybe the door feels slow or jerky. This often means your belt is slipping.
A slipping belt is a common problem. It usually happens because of loose parts or wrong tension. The good news? You can fix this yourself in just a few minutes.
This guide walks you through the whole process. We will show you how to safely disconnect your opener first. Safety always comes first with any repair.
Next, we cover how to check your belt tension properly. Your tension spring should measure about 1-1/4 inches when set correctly. We explain how to spot sagging and what it means.
In a Nutshell
- Turn off power first. Always disconnect your garage door opener before touching any parts. This keeps you safe during the whole process.
- Close the door completely. Use your wall control or remote to shut the door before you start. This gives you clear access to the belt and spring.
- Check the tension spring. It should measure about 1-1/4 inches when adjusted correctly. This simple check tells you if slipping is caused by loose tension.
- Look at the trolley arm. Make sure it stays securely fastened to the belt. A loose connection often causes jerky movement or slipping.
- Tighten the spring gently. If you see sagging, adjust the connecting spring until it firms up. This step usually solves most slipping issues right away.
- Inspect for damage. Look closely for worn or broken parts. Replace anything that looks cracked or stretched beyond repair.
Understanding Why Smart Garage Door Opener Belts Slip
A slipping belt happens when your garage door opener loses grip during operation. The belt cannot push or pull the door smoothly, so the door moves slowly or makes grinding sounds.
Why does this happen? The most common cause is improper tension. When the spring that holds your belt tight loses strength, the belt begins to sag. A sagging belt cannot grip the pulley system properly, so it slips instead of gripping.
Loose components also create slipping problems. The trolley arm connects the belt to your door. If this arm is not securely fastened, it moves around during operation. This movement causes the belt to lose contact with the pulleys.
What role does the tension spring play? Your tension spring keeps the belt tight and ready to work. When this spring measures less than 1 and 1/4 inches, the belt sits too loose. A loose belt cannot transfer power efficiently from the motor to your door.
Worn or damaged parts make slipping worse. Over time, belts crack or fray. Pulleys can become dented or misaligned. When these parts wear out, they cannot grip the belt firmly, no matter how tight you make the spring.
How does weather affect belt tension? Cold temperatures make rubber stiffer and less flexible. Hot weather makes rubber expand slightly. These changes can affect how well your belt grips the pulleys.
Understanding these causes helps you prevent future problems. Regular inspection catches loose components before they cause damage. Checking your tension spring every few months keeps your system running smoothly.
The good news is that most slipping issues are fixable. You do not need expensive repairs or replacements. Simple adjustments to your spring and connections often solve the problem completely. Once you understand what causes slipping, you can address it quickly and keep your garage door working reliably.
Tools and Safety Precautions Before You Begin
Before you start fixing your smart garage door opener belt, gather the right tools and take safety steps seriously. Working on garage door systems can be dangerous if you skip precautions.
First, collect your tools. You will need an adjustable wrench to tighten bolts and springs. A socket set helps you remove fasteners quickly. Keep a flashlight handy so you can see inside the opener clearly. Have a step ladder ready to reach the opener safely. A measuring tape lets you check spring tension accurately. Wear work gloves to protect your hands from sharp edges and metal parts.
Safety comes first when working on any garage door system. Always disconnect power to your opener before touching anything. Flip the breaker switch or unplug the unit from the wall outlet. This prevents the door from moving unexpectedly while you work.
Close your garage door completely using the wall control or remote. Never work on an open door. An open door can fall and cause serious injury.
Make sure your garage is well lit. Poor lighting leads to mistakes and accidents. If natural light is limited, set up work lights to see all components clearly.
Wear safety glasses to protect your eyes from dust and debris. Long sleeves and sturdy shoes are also smart choices. Avoid loose clothing that could get caught in moving parts.
Keep children and pets away from the garage while you work. Tell family members you are performing maintenance so they do not try opening the door.
Have a helper nearby if possible. Another person can hold the door or pass you tools. They can also call for help if something goes wrong.
Check your tools before you begin. Make sure your wrench fits the bolts properly. Test your flashlight so the batteries work. These simple steps prevent frustration and keep you safe throughout the repair process.
Step-by-Step Guide to Fixing a Slipping Belt
Now that you have your tools ready and safety measures in place, you’re prepared to fix that slipping belt. Follow these steps in order for the best results.
Start by disconnecting power to your garage door opener at the wall outlet or breaker. This keeps you safe while you work. Close your garage door completely using the wall control or remote. You need the door in the closed position before you begin any adjustments.
Look at the belt closely. Inspect the entire length for fraying, cracks, or worn spots. A damaged belt may slip no matter how tight you make it. If you spot damage, the belt likely needs replacement rather than adjustment.
Check the trolley arm connection. The trolley arm is the metal piece that connects to your belt. Press on it firmly to confirm it’s secure. A loose trolley arm causes slipping because the belt can’t grip properly. Tighten any bolts or fasteners you find here.
Locate the tension spring. This spring connects the belt ends and keeps everything tight. Look for sagging in the belt. If you see drooping, the tension spring needs adjustment.
Measure the spring gap. The space between the spring’s ends should measure about 1 1/4 inches when properly adjusted. Use a ruler to check this measurement. If the gap is larger, your spring is too loose.
Tighten the spring gradually. Turn the adjustment bolt a quarter turn at a time. Check the belt tension after each adjustment. Avoid over tightening, which strains the motor and belt. Stop when you reach the correct 1 1/4 inch measurement.
Test the door. Reconnect power and operate the door several times. Listen for smooth operation. The belt should move quietly without slipping sounds. If slipping continues, inspect for damaged parts that need replacement.
How to Properly Adjust Belt Tension and Spring
Start by closing your garage door completely using your wall control or remote. Then disconnect power to your opener at the breaker or wall outlet. This keeps you safe while you work.
Look at your belt closely. Inspect the entire length for fraying, cracks, or worn spots that might cause slipping. Run your fingers along it gently to feel for damage.
Check where the trolley arm connects to your belt. The trolley arm is the metal piece that moves back and forth. This connection must be tight and secure. If bolts are loose here, your belt will slip during operation.
Locate your tension spring next. This spring connects the belt ends and keeps everything tight. It’s the key to stopping slipping problems. Measure the gap between the spring’s ends. Proper adjustment means this space should measure about 1 1/4 inches.
If your spring gap is larger than 1 1/4 inches, your belt is too loose. You need to tighten the spring to eliminate sagging. Loosen the bolts holding the spring slightly. Then adjust the spring position to reduce the gap to the correct measurement. Retighten all bolts firmly.
After adjusting, reconnect power and test your door. Open and close it several times. Listen for grinding noises or watch for belt slipping. The door should move smoothly without hesitation.
Don’t skip the trolley arm. Make sure every bolt connecting it to the belt is tight. Loose connections here cause most slipping issues. Check all fasteners throughout the system. Tighten anything that feels loose.
If your spring is damaged or won’t stay tight, replacement might be necessary. A spring that won’t hold tension properly cannot keep your belt in position. Your opener will continue to slip until you address this.
Checking and Securing the Trolley Arm Connection
The trolley arm connects your belt to the garage door opener’s drive system. This connection must be rock solid, or your belt will slip during operation. A loose trolley arm is one of the most common reasons belts fail to grip properly.
Start by locating the trolley arm. This metal piece sits directly above your belt and moves up and down as the door opens and closes. You’ll see bolts or fasteners holding it to the belt carriage.
Inspect every single bolt on the trolley arm connection. Use your wrench to check each one. Turn clockwise gently to see if any bolt moves. Even a slightly loose bolt can cause the entire system to slip. Tighten any loose bolts, but don’t over tighten them. You want snug, not stripped.
Look for worn or damaged mounting points where the trolley arm connects. Cracks in the metal or stripped threads mean you need replacement parts. Don’t try to force a bolt into a damaged hole. This will only make the problem worse.
Check the cable or strap that might also connect the trolley arm to your belt system. This secondary connection often gets overlooked but plays an important role. Make sure it’s not bent, frayed, or loose.
After tightening all connection points, manually pull the belt gently. It should move smoothly without the trolley arm shifting or wobbling. If you notice movement in the trolley arm itself, go back and check your bolts again.
Test the connection by hand before reconnecting power. Push up on the trolley arm. It should feel solid and immovable. Any play or movement means you missed a bolt or haven’t tightened enough.
A secure trolley arm connection prevents most belt slipping problems. Take time to verify every fastener. This simple check often fixes the issue completely.
Common Mistakes to Avoid During Belt Adjustment
When adjusting your garage door opener belt, several mistakes can make things worse instead of better. Understanding what to avoid keeps you safe and saves time.
The biggest error is skipping the power disconnect step. Many people try adjusting the belt while the opener is still plugged in. This creates a serious safety hazard. Your door could move unexpectedly and cause injury. Always unplug the opener at the wall outlet or flip the breaker before touching anything.
Another common mistake is under-tightening the tension spring. People often make the spring gap larger than it should be. They think a looser spring is safer or easier to work with. Wrong. A gap bigger than 1 1/4 inches leaves your belt too loose. This directly causes slipping. Measure carefully and tighten until you hit the correct measurement.
Over-tightening creates its own problems. Some people crank the spring too tight, thinking more tension equals better performance. Excessive tension puts strain on your belt and motor. It wears parts out faster and can damage the opener permanently.
Not securing the trolley arm properly ranks high on the mistake list. People tighten the tension spring but forget to check every bolt on the trolley arm connection. Even one loose bolt can cause belt slipping. Check each connection point individually.
Rushing through inspections is another pitfall. Skip a visual check and you might miss a damaged belt or worn mounting point. These problems need fixing before you adjust tension. Take your time looking at the entire belt length and all connection points.
Finally, avoid testing the door immediately after adjustment. Let yourself verify everything is tight and secure first. Do a manual pull test by hand before reconnecting power. This catches problems before they happen during actual operation.
Troubleshooting Persistent Slipping Issues
When your garage door opener belt keeps slipping despite your initial fixes, you need to dig deeper. Persistent slipping usually means one of three things: your tension spring isn’t tight enough, your trolley arm has hidden loose bolts, or your belt itself is damaged beyond simple adjustment.
Start by disconnecting power to your opener. This safety step protects you while you work. Next, close your door completely using your wall control. Now inspect your tension spring gap again. Measure it carefully with a ruler. If it’s still larger than 1 1/4 inches, your spring needs more tightening. Use an appropriate wrench to turn the adjustment bolt slowly. Make small turns, then remeasure. Rushing this step causes people to under tighten, which brings back the slipping problem.
Check every single bolt on your trolley arm connection. Vibration from repeated door cycles loosens fasteners over time. Feel around the mounting points where the trolley arm attaches to your belt system. Tighten anything that moves. Don’t assume one bolt is tight just because another one is.
Look at your belt itself under good lighting. Run your fingers along its entire length. Fraying, cracks, or shiny worn spots indicate the belt is failing. A damaged belt won’t grip properly no matter how tight your spring is. Visible wear means replacement time.
Test your adjustments by manually pulling the belt gently. It should move smoothly without excessive resistance. Reconnect power and operate your door slowly a few times. Listen for grinding sounds or watch for belt movement. If slipping continues after these checks, your belt likely needs replacing. Don’t keep forcing a worn belt to work. This damages your opener’s motor and creates safety hazards.
Final Thoughts
Fixing a slipping garage door opener belt does not need to be hard. Most problems come down to two things: spring tension and trolley arm connection. Once you understand these basics, you can solve the issue quickly.
Remember to always disconnect power before you start any adjustment. This simple step keeps you safe and prevents accidental damage to your opener.
Check your spring measurement carefully. A gap of 1 1/4 inches is your target number. This small detail makes a big difference in how your belt performs.
Take your time with each inspection step. Rushing leads to missed problems and repeat repairs. A careful check now saves you frustration later.
Test your work by hand before you reconnect power. This gives you a clear sense of whether the belt feels secure. It also helps you catch issues before they become bigger problems.
If your belt keeps slipping after these fixes, look for deeper issues. Worn parts or damaged mounting points often need replacement rather than adjustment. Don’t ignore signs of wear on any component.
Regular maintenance helps prevent slipping from happening again. Check your belt tension every few months as part of routine upkeep. This small habit keeps your garage door running smoothly.
Your garage door opener works hard every day. Giving it proper attention means fewer breakdowns and less stress for you.
With these steps, you now have the knowledge to handle belt slipping issues on your own. Trust your ability to inspect, adjust, and test each component. Most fixes are simpler than they first appear.
A well maintained belt system means a reliable garage door for years to come. Keep these tips handy for future reference whenever slipping returns.
Frequently Asked Questions
How do I know if my garage door belt tension is correct?
The tension spring should measure approximately 1 to 1/4 inches when your belt system is properly adjusted. You can check this measurement by looking at the spring connecting the belt ends. If the spring appears stretched out or sagging more than this measurement, your tension needs adjustment. A properly tensioned spring keeps your belt from slipping during operation.
What causes a garage door opener belt to slip in the first place?
Belt slipping happens when tension is insufficient or when connection points become loose. The trolley arm must connect securely to your belt system. Vibration from repeated door cycles can loosen fasteners over time. Loose bolts and under-tightened springs are the main culprits behind slipping belts.
Can I fix belt slipping without professional help?
Yes, you can handle this yourself by following the right steps. Start by closing your door and disconnecting power to your opener. Inspect the belt tension visually. Tighten the spring connecting the belt ends to eliminate sagging. Check that your trolley arm connection is completely secure. These adjustments solve most slipping problems without calling a technician.
What happens if I over-tighten the tension spring?
Over-tightening creates its own set of problems for your system. Excessive tension puts extra strain on your opener motor and belt. This can cause premature wear and damage to components. Aim for the correct 1 to 1/4 inch measurement rather than making the spring as tight as possible.
How often should I check my belt tension?
Regular inspection helps prevent slipping from developing. Check your belt system every few months if you use your garage door frequently. Look for any sagging or loose connection points. Preventive maintenance keeps your door operating smoothly and reliably.

Hi, I’m Frankie Shaw, the founder and writer behind Swittchly 👋. I’m a passionate tech enthusiast who loves exploring the latest gadgets, devices, and electronics that hit the market. Through my honest, research-backed Amazon product reviews, I help readers make smarter buying decisions without the hype or confusion.