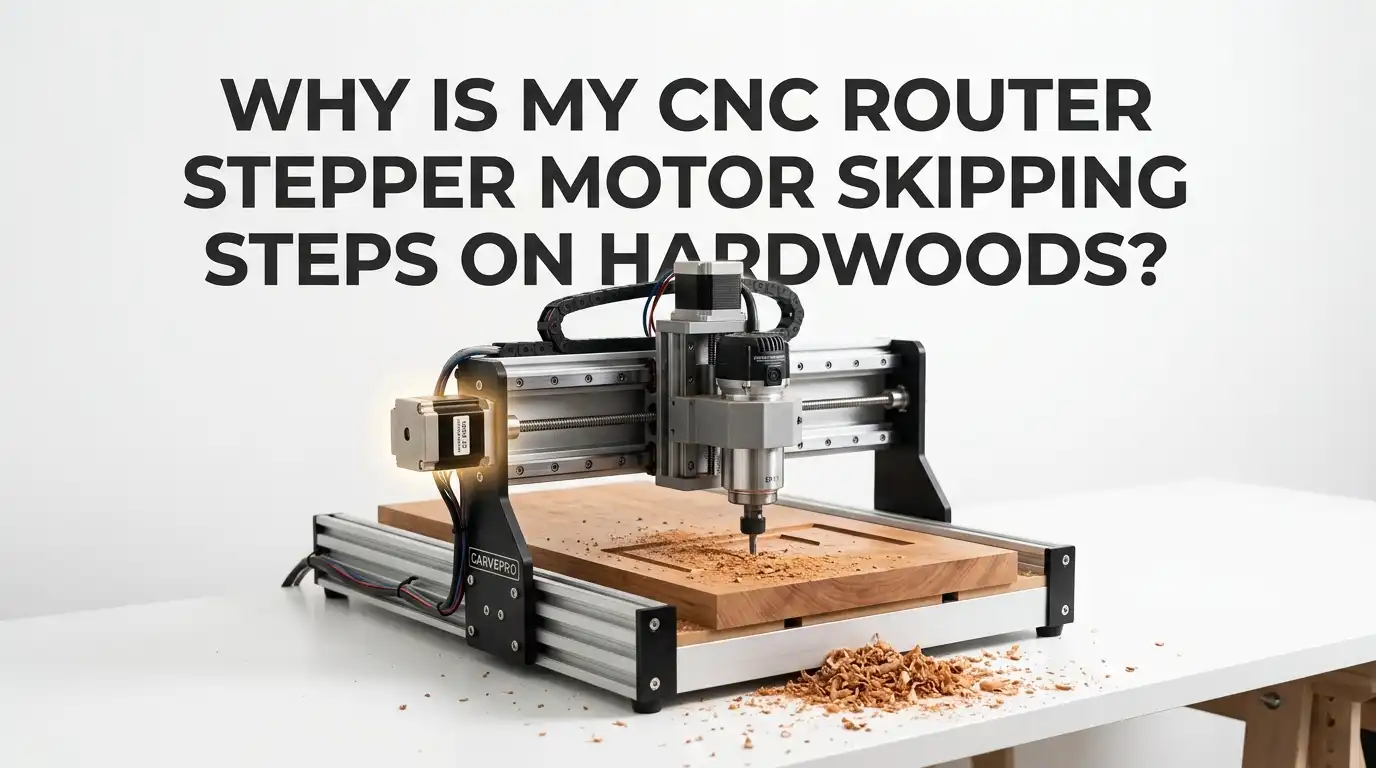
Why Is My CNC Router Stepper Motor Skipping Steps on Hardwoods?
If your CNC router cuts pine just fine but starts to lose position in oak, maple, or walnut, you are dealing with a load problem, a motion problem, or both. Hardwood pushes back harder.
That extra force can expose weak feeds and speeds, poor chip clearing, loose pulleys, tight rails, bad wiring, or stepper settings that looked fine in softer material. The good news is simple.
You can solve this without guessing. In most cases, a few careful checks will show the real cause fast. This guide walks you through the problem in plain language, so you can stop ruined parts, broken bits, and random shifts in your toolpath.
In a Nutshell
- Hardwood raises cutting force fast. A pass that feels easy in MDF or softwood can overload your axis in hardwood. The motor then loses position because the machine asks for more torque than the stepper can give at that speed. That is why the same file can work in one material and fail in another.
- Your first fix should be lighter cutting load. Reduce feed rate a little, reduce depth of cut, and reduce width of cut if needed. This is the fastest test because it tells you right away if the issue is simple overload. If the skipping stops, you know the machine was being pushed too hard.
- Stepper torque falls as speed rises. Many users chase spindle power first, but the axis motor may be the real limit. High feed rate and high acceleration can push the stepper past its safe zone, especially in corners, slot cuts, and fast direction changes.
- Mechanical drag causes the same symptom. Loose pulleys, uneven belt tension, dry rails, tight wheels, bent lead screws, and gantry misalignment can all make the motor work harder. A healthy axis should move smoothly by hand when power is off, with no sticky point and no rough section.
- Bad cutting setup can look like an electrical fault. A dull bit, poor chip clearing, too many flutes, or a full slot in dense hardwood can spike cutting force. The motor skips, but the root cause starts at the cutter. Good chip evacuation and a sharp bit often solve more than people expect.
- Electrical checks matter after the basic tests. Driver current, cooling, supply voltage, microstepping, connectors, and cable strain can all play a role. Do not change everything at once. Test one variable, run the same file again, and keep notes. That step by step method saves time and protects your machine.
What Step Skipping Really Looks Like
Stepper motor skipping steps means the controller tells the motor to move, but the motor does not complete every commanded step. The machine still thinks it is in the right place.
That is why the cut shifts without a warning. You may see an offset pocket, a line that no longer matches the rest of the path, or a final position that does not return to zero.
This problem often shows up in hardwood because cutting force rises fast. A machine that stays accurate in air cuts or soft material may fail once the bit enters dense wood. The harder the wood, the smaller your safety margin becomes.
A few signs are common. You may hear a sharp thunk, a grind, or a brief stutter. You may also notice that the problem appears in corners, deep passes, long 3D jobs, or full width slotting.
Pros of spotting the symptom early: you save bits, clamps, and stock.
Cons: the visible shift can happen long after the actual missed step, which makes the cause look random.
Why Hardwoods Push Your Machine So Much Harder
Hardwoods increase tool pressure, heat, and chip load stress. That does not mean hardwood is impossible. It means the machine has less room for weak settings. Oak, maple, hickory, and walnut can punish a setup that felt fine in plywood or pine.
The bit has to shear denser fibers. If the feed rate, spindle speed, flute count, and depth of cut do not match, the cutter starts rubbing or packing chips. That raises cutting force even more. Once force rises, the axis motor feels it right away.
Full slot cuts are one of the biggest trouble spots. The cutter stays buried, chips have less room to leave, and the load stays high for the whole move. Small hobby routers feel this fast.
A simple rule helps here. Start with a lighter pass than you think you need. Many small machine users get better results with shallow cuts and moderate width of cut in hardwood.
Pros of lighter hardwood strategy: safer, cleaner, easier on motors.
Cons: longer cycle time and more passes.
Run a Simple Test Before You Change Everything
Before you touch settings, prove that the machine is truly losing steps. This one test can save hours. Set a zero point. Run a repeatable motion or a short sample file. Return the machine to the same zero. If it does not come back exactly, you likely lost steps.
Do the test in three stages. First, run the path in air. Second, run it in soft material. Third, run it in hardwood. If the machine fails only in hardwood, cutting load is the main clue. If it fails in air too, look harder at mechanics, wiring, or electronics.
You can also power off the machine and move each axis by hand. Feel for tight spots, drag, or rough movement. A healthy axis should feel smooth from end to end.
Keep one notebook page for test results. Write down feed rate, spindle speed, depth of cut, bit type, and whether the machine returned to zero.
Pros of this method: fast, low risk, clear data.
Cons: it takes patience, and you need to resist random changes.
Lower Feed Rate and Depth of Cut First
If you want the quickest fix, reduce cutting load first. Lower the feed rate by about 10 to 20 percent. Then reduce depth of cut. If the job still skips, reduce width of cut too. This simple sequence solves many hardwood step loss problems.
Small CNC routers often need more modest cuts than users expect. A common safe starting point for small machines is a slot depth closer to one quarter to one third of cutter diameter, especially in dense wood. Multiple light passes often beat one heavy pass.
Do not cut so slowly that the bit rubs and burns the wood. The goal is balanced cutting, not fear based cutting. If you slow feed rate, you may also need to lower spindle speed a little so the bit still makes chips instead of dust.
Method one: reduce only feed rate.
Pros: very easy, no tool change.
Cons: too much reduction can create heat and rubbing.
Method two: reduce depth of cut.
Pros: lowers load fast, safer in hardwood.
Cons: longer run time.
Method three: reduce width of cut.
Pros: huge drop in load.
Cons: needs toolpath change.
Match Spindle Speed and Feed Rate So the Bit Cuts, Not Rubs
A lot of skipped steps start with poor feeds and speeds. If the spindle runs too fast for the feed, the bit rubs. If the feed is too high for the spindle and tool, the bit overloads. Both cases can push the axis into lost steps.
Chip load is the key idea. The bit should make real chips, not fine dust and heat. Some wood cutting references use a hardwood chip load around 0.0145 inches per tooth for a larger half inch carbide tool in a full slot test. That is only a reference point, not a rule for every router. Small bits and lighter machines need much gentler numbers.
Listen to the cut. A clean cut sounds steady. A rubbing cut sounds harsh and leaves burn marks. A choked cut sounds heavy and throws the machine around.
Method one: raise feed while keeping speed the same.
Pros: can reduce rubbing and heat.
Cons: may overload a light machine.
Method two: lower spindle speed while keeping feed modest.
Pros: can improve chip formation.
Cons: too low can hurt finish.
Choose the Right Bit for Hardwood
Bit choice changes cutting force more than many users think. In hardwood, a one flute or two flute bit often clears chips better than a three flute or four flute bit on a router. Better chip clearing means lower load on the motor.
Bit diameter matters too. A large bit can be stiffer, but it also needs more force. If your machine is small, a smaller tool with lighter passes may work better. Compression bits, downcut bits, and straight bits all behave differently. The cleanest edge is not always the easiest cut for the machine.
For many hardwood jobs, a sharp two flute carbide bit is a balanced choice. For deep slotting or poor dust clearing, a one flute option may reduce packing. For delicate finish work, use a light finishing pass instead of forcing the roughing pass to do everything.
One flute method:
Pros: excellent chip evacuation, lower clog risk.
Cons: may leave a rougher finish.
Two flute method:
Pros: balanced finish and cutting load.
Cons: still needs good chip clearing.
Check Tool Sharpness and Chip Clearing
A dull bit makes the whole machine work harder. The stepper motor may skip, but the real problem may be the cutter. A sharp bit slices. A dull bit drags. Drag creates heat, dulls the edge further, and raises cutting force until the axis gives up.
Chip clearing matters just as much. If chips stay in the slot, the bit cuts them again and again. That adds heat and resistance. In hardwood, this can turn a normal pass into a stall point. Dust collection helps, but directed air near the cut often helps even more.
Look at the waste. Good chips usually mean better cutting. Fine dust can mean rubbing. Burn marks, squeal, or extra heat are warning signs too.
Method one: replace or sharpen the bit.
Pros: immediate drop in cutting force, cleaner finish.
Cons: extra cost.
Method two: improve chip clearing with air or dust flow.
Pros: cooler cut, less recutting.
Cons: adds noise and setup time.
Reduce Acceleration and Corner Aggression
A machine can skip steps even if feed rate looks reasonable. The issue may be acceleration. High acceleration hits the motor hard at the start of a move and at every sharp direction change. Hardwood makes this worse because the tool is already under load.
Many users see the problem at corners, small curves, and short rapid moves. The machine tries to speed up too fast, the motor torque drops at that speed, and a brief stall occurs. That single stall can ruin the whole part.
A smart test is simple. Cut acceleration in half. Run the same file again. If the problem improves, raise the value slowly until you find a stable limit. Stay below the failure point.
Lower acceleration method:
Pros: very effective, easy to test, often fixes corner skips.
Cons: longer cycle time.
Lower maximum speed method:
Pros: adds stability in long moves.
Cons: may feel slow on large jobs.
For hardwood, stable motion beats flashy motion every time.
Inspect Belts, Pulleys, Couplers, and Set Screws
Mechanical slip can look exactly like lost steps. A loose pulley set screw, weak coupler grip, or uneven belt tension can shift the axis under load. This is common and easy to miss. The machine may run fine in air, then slip in hardwood because cutting force finally overcomes the loose part.
Check every pulley and coupler. Make sure each screw sits firmly on the motor shaft flat where needed. Check that belts are tight enough to transmit force but not so tight that they add drag. On dual drive gantries, both sides should feel even. Uneven tension can pull the machine out of square and start a skip.
Do not forget motor mount bolts. A loose motor plate can change belt tension during a cut.
Belt drive method:
Pros: simple to inspect, easy to fix.
Cons: belt systems need regular checks.
Lead screw coupler method:
Pros: solid drive when set right.
Cons: loose couplers can hide for a long time.
Check Rails, Wheels, Lead Screws, and Gantry Alignment
If one axis binds, the motor must fight both cutting load and machine drag. That is a bad mix in hardwood. A smooth machine has a much larger safety margin. Power off the router and move each axis through the full travel. Feel for one tight zone, one rough sound, or one place where more force is needed.
On wheel based systems, check wheel tension. Wheels that are too tight add drag. Wheels that are too loose let the carriage rock. On rail systems, check lubrication and look for dirt. On lead screws, look for bent sections, packed debris, or dry nuts.
Gantry squareness matters too. A twisted gantry can pull one side harder than the other. The axis may move, but it will do so under stress.
Method one: clean and lubricate the motion system.
Pros: cheap, fast, often overlooked.
Cons: needs regular upkeep.
Method two: re align and re square the gantry.
Pros: improves accuracy and load balance.
Cons: takes careful setup time.
Review Driver Current, Supply Voltage, and Cooling
If the mechanical side looks good, check the electronics. Stepper drivers need correct current. Too little current can weaken the motor. Too much current creates heat and can make the driver or motor misbehave. Heat matters here. Some drivers can briefly shut down from overheating, and that moment can look like random step loss.
Supply voltage matters too. Stepper motors lose torque as speed rises. Higher voltage can help the motor keep useful torque at higher speed, as long as the driver and motor are rated for it. Voltage helps high speed performance more than simply cranking current.
Cooling is often ignored. Make sure the control box gets airflow. Check driver heatsinks and fans. Long hardwood jobs raise cabinet heat over time.
Increase current method:
Pros: may help weak torque at low to moderate speed.
Cons: too much heat, less smooth running if pushed too far.
Higher voltage method:
Pros: better torque at speed.
Cons: must stay within driver limits.
Tune Microstepping Carefully
Microstepping can improve smoothness and reduce vibration, but it is not a magic fix. It gives finer motion, not automatic accuracy. In some systems, very high microstep settings can reduce the motor’s effective holding behavior between full steps and make tuning less forgiving.
For many CNC routers, moderate microstepping is a good balance. It keeps motion smooth without asking too much from the controller or the motor. If your current setting is very high, test a lower value and update steps per unit correctly. Change only one setting at a time or you will lose track of what helped.
This is a fine tuning step, not the first step. Fix cutting load and mechanics before you touch it.
Higher microstepping method:
Pros: smoother motion, less noise, less resonance.
Cons: can hide weak tuning and may reduce margin in some setups.
Moderate microstepping method:
Pros: simpler tuning, strong real world behavior.
Cons: slightly less smooth sound and feel.
Look for Wiring Faults and Electrical Noise
Intermittent wiring faults can cause skips even during air cuts. A connector may look fine and still fail under vibration. This is why some machines lose steps at random points after hours of work. Hardwood is harder to diagnose because users assume cutting force is the only issue.
Inspect motor connectors, extension joints, drag chain bends, and strain relief points. Wiggle the cable gently while jogging the axis. If the motor stutters, you found a clue. Check that no cable can twist, pull, or vibrate loose during long runs. Keep signal wiring neat and separated from noisy power lines where possible.
Grounding and shielding can matter on some builds. A clean electrical path helps the driver send clean step pulses and helps the motor receive stable power.
Connector check method:
Pros: free, fast, often finds the issue.
Cons: intermittent faults can be hard to repeat.
Re route and secure cables method:
Pros: improves reliability for long jobs.
Cons: takes careful cable management.
Build a Stable Hardwood Recipe and Save It
Once the machine runs one hardwood job cleanly, lock that success in. Create a repeatable recipe. Save the bit type, feed rate, spindle speed, depth of cut, width of cut, acceleration, and finishing pass settings. That way you stop starting from zero every time.
A good hardwood recipe uses a roughing pass and a finishing pass. Roughing removes most material with safe load. Finishing cleans the walls and floor with light engagement. This lowers stress on the motors and improves finish quality. It also makes the machine sound calmer and cut more predictably.
Keep separate recipes for oak, maple, walnut, plywood, and MDF. Each material behaves differently. Add notes about dust clearing and tool wear.
Single pass heavy method:
Pros: shorter job time on a very strong machine.
Cons: high risk on hobby routers.
Roughing plus finishing method:
Pros: safer, cleaner, easier on motors.
Cons: more setup and longer run time.
FAQs
Can a stepper motor skip steps even if the machine sounds normal?
Yes. A motor can miss a small number of steps without a dramatic noise. The cut may shift later, which makes the problem feel random. That is why return to zero testing matters. If the machine does not come back exactly, you likely lost motion even if the cut sounded mostly fine.
Why does my router skip steps only in hardwood and not in plywood?
Hardwood usually creates higher cutting force. Dense fibers, heat, and chip packing raise the load on the axis. Plywood can still be hard on tools, but a hardwood pass often pushes the motor closer to its torque limit. That extra load exposes weak settings, dull bits, or mechanical drag.
Is lowering feed rate always the best fix?
No. Lowering feed rate is a great first test, but too little feed can cause rubbing, heat, and burning. The better goal is balanced cutting. If you slow the feed, you may also need to reduce spindle speed, depth of cut, or width of cut so the bit still makes clean chips.
Should I upgrade the motor right away?
Usually no. Start with load reduction, mechanical inspection, bit choice, chip clearing, and acceleration tuning. Those fixes solve many cases. A motor upgrade helps only after you know the rest of the system is healthy. If the machine has binding, bad wiring, or poor feeds and speeds, a bigger motor may only hide the real issue for a while.
What is the fastest safe troubleshooting order?
Use this order. First, test return to zero. Second, reduce feed and depth of cut. Third, inspect the bit and chip clearing. Fourth, lower acceleration. Fifth, check belts, pulleys, couplers, rails, and alignment. Sixth, review driver current, voltage, cooling, and wiring. That order finds the most common causes with the least wasted time.

Hi, I’m Frankie Shaw, the founder and writer behind Swittchly 👋. I’m a passionate tech enthusiast who loves exploring the latest gadgets, devices, and electronics that hit the market. Through my honest, research-backed Amazon product reviews, I help readers make smarter buying decisions without the hype or confusion.