How To Fix A Keyboard Spacebar That Is Sticking?
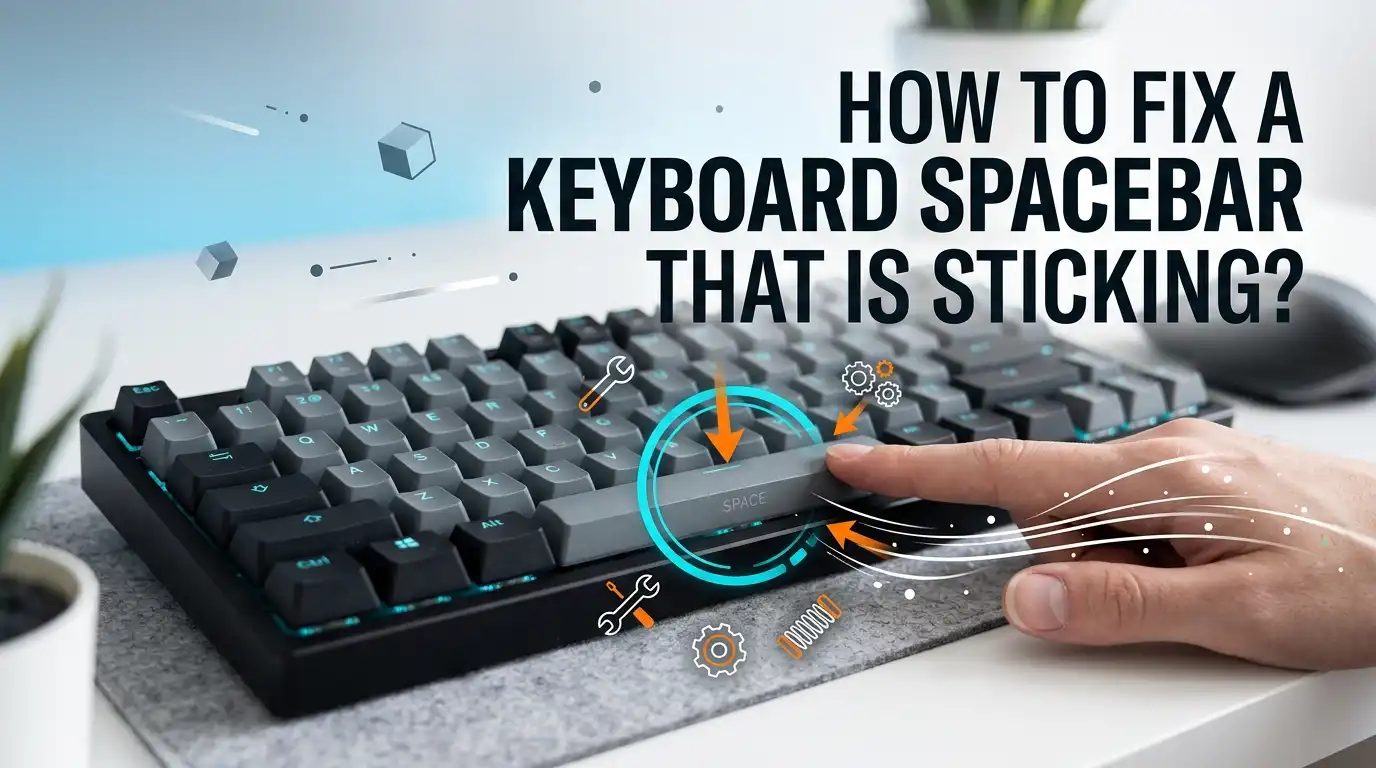
A sticky spacebar slows down your typing and ruins your flow. You press the bar, but it does not bounce back. Sometimes it stays down. Sometimes it skips spaces.
This problem feels small, but it makes every sentence harder to write. The good news is simple. You can fix a sticky spacebar at home in most cases. You do not need a repair shop for many of these issues.
This guide breaks down each cause and gives you clear, safe steps. You will learn how to clean, reset, and repair your spacebar. You will also learn how to stop the problem from coming back. Let us start fixing your keyboard today.
In a Nutshell:
- Dirt and crumbs are the top cause. Food bits, dust, and hair often hide under the spacebar and block its movement.
- Sticky residue from spills makes the key feel slow and tacky. Rubbing alcohol and cotton swabs remove this fast.
- A loose or bent metal stabilizer can trap the bar in a down position. You may need to remove and reseat it.
- Mechanical keyboards sometimes suffer from over lubed or dry stabilizers. A small amount of the right lube fixes both extremes.
- Software glitches can mimic a stuck key. Always rule out driver issues before you open anything.
- Prevention beats repair. Regular cleaning and no eating over your keyboard keep the spacebar smooth long term.
Why Your Spacebar Sticks In The First Place
You need to know the cause before you pick a fix. A spacebar sticks for a few common reasons. Dirt builds up under the key over time. Crumbs, dust, and hair slide into the gaps. These bits block the key from springing back up.
Spills are the second big reason. Soda, coffee, and juice leave a sticky film under the bar. This film grabs the key and slows it down. The third reason is a mechanical fault. The metal stabilizer bar under the spacebar can bend or pop loose.
On laptops, a broken clip causes the same issue. Software bugs can also fake a sticky key. Knowing your cause saves you time and protects your keyboard from damage.
Step One: Confirm It Is A Hardware Problem, Not Software
Do not open your keyboard yet. Sometimes the spacebar works fine, but your software acts up. A bad driver or a stuck setting can repeat spaces or block them. Start with a quick test.
Open a blank text document. Press the spacebar a few times. Watch how it behaves. If it skips or repeats with no resistance, the issue may be digital, not physical.
Restart your computer first. This clears small glitches. Next, check your keyboard driver. On Windows, open Device Manager and update or reinstall the keyboard driver. Turn off Sticky Keys and Filter Keys in your settings too. These features sometimes change how keys respond. If the problem stays after this, your fix is physical.
Pros: This step is free and fast. It avoids needless disassembly.
Cons: It does not help if the cause is truly physical dirt or damage.
Step Two: Power Down And Gather Your Tools
Safety comes first. Always turn off and unplug your keyboard before you clean it. For a laptop, shut it down fully and unplug the charger. This protects you and your device from short circuits.
Now gather a few simple tools. You will need cotton swabs, a soft cloth, and isopropyl alcohol at ninety percent or higher. Grab a can of compressed air too. A flat plastic tool or an old credit card helps you pry keys.
A keycap puller is useful for mechanical keyboards. Keep a small bowl nearby to hold tiny parts. Take a photo of your keyboard before you start. This picture helps you put keys back in the right spot later. Good preparation makes the whole job smoother.
Step Three: Blow Out The Dust With Compressed Air
Compressed air is your first cleaning tool. It pushes out loose dirt without any contact. This step alone fixes many sticky spacebars. It is the gentlest method, so always try it first.
Hold your keyboard at an angle. Tilt it so the dust falls out instead of deeper inside. Aim the nozzle at the edges of the spacebar. Spray in short bursts rather than one long blast.
Move the straw along all four sides of the key. The air loosens crumbs and hair stuck under the bar. Tap the keyboard gently while you spray to shake more debris free. After spraying, test the spacebar. If it moves better, you may be done already.
Pros: Quick, safe, and needs no disassembly.
Cons: It cannot remove sticky residue or fix mechanical faults.
Step Four: Clean The Surface With Rubbing Alcohol
If air does not work, the problem is likely sticky residue. Spills leave a tacky layer that grabs the key. Rubbing alcohol dissolves this film with ease. It dries fast and leaves no water behind.
Dip a cotton swab in isopropyl alcohol. Do not soak it. A damp swab is enough. Run the swab around all edges of the spacebar.
Push it into the gaps as far as it goes. Slide the swab under the bar to reach the hidden grime. For tough spots, a small amount of Goo Gone on a swab removes stubborn stickiness. Wipe the bar from side to side. Let everything dry for ten minutes before testing.
Pros: Removes sticky spills that air cannot touch.
Cons: You must use it sparingly to avoid liquid damage.
Step Five: Remove The Spacebar For A Deep Clean
Sometimes surface cleaning is not enough. You must remove the spacebar to reach the dirt below. This sounds scary, but it is doable with care. The method changes based on your keyboard type.
For a standard keyboard, slide a flat plastic tool under one end of the bar. Lift gently and evenly. You will hear a soft click as it pops off. Note the metal stabilizer bar that sits under it.
For a laptop, work very slowly. The clips are tiny and break easily. Lift the keycap straight up after you free the corners. Set the spacebar aside in your bowl. Now you can clean the empty space and the key itself.
Pros: Gives you full access to deep dirt and residue.
Cons: Risk of breaking clips, especially on laptops.
Step Six: Clean Under The Key And Reseat It
With the spacebar off, clean the area below. This is where most hidden dirt lives. You will often find a surprising amount of debris here. Take your time with this step.
Wipe the base with an alcohol soaked swab. Clean the metal stabilizer bar too. Look for bent or loose parts while you work. A bent stabilizer is a common cause of sticking.
If the bar looks crooked, gently straighten it with your fingers. Make sure both ends sit in their plastic clips. Line up the spacebar over the stabilizer before you press it down. Push firmly and evenly until you hear it click into place. Test the key right away to check your work.
Step Seven: Fix A Stuck Stabilizer On Mechanical Keyboards
Mechanical keyboards have special parts called stabilizers. These wire pieces keep the long spacebar level when you press it. When they fail, the key feels sticky or slow. This is a frequent issue for custom keyboard fans.
Two problems cause this. The stabilizer may be dry and rattly, or it may be over lubed and mushy. Both make the bar stick. Pull the spacebar off to inspect it.
If it feels dry, add a thin layer of dielectric grease to the wire ends. If it has too much lube, wipe the extra off with a swab. A loose mounting can also cause sticking, so check the screws. Some users loosen the screws, press the bar a few times, then tighten again to seat it right.
Pros: Targets the exact cause on mechanical boards.
Cons: Lubing takes practice and patience to get right.
Step Eight: Try The Alcohol Rinse Method For Big Spills
A large spill needs a stronger fix. An alcohol rinse cleans deep messes that swabs cannot reach. Use this only for mechanical or membrane keyboards, never laptops. It works well when a drink soaks the whole board.
Unplug the keyboard and remove all keycaps you can. Pour ninety one percent or higher isopropyl alcohol over the affected area. Make sure the alcohol flows under the keys. Tilt the keyboard so the liquid runs out and carries the residue with it.
Let the keyboard dry fully for at least twenty four hours. Place it upside down on a towel during this time. Never power it on while it is still wet. Once dry, reattach the keys and test.
Pros: Cleans severe spills across the whole keyboard.
Cons: Long drying time and not safe for laptops.
Step Nine: Check For A Warped Or Bent Keycap
Sometimes the keycap itself is the problem. A warped spacebar rubs against the keyboard frame. This friction makes the key stick or feel rough. Heat and age cause plastic to bend over time.
Take the spacebar off and look at it closely. Hold it flat against a table edge. A flat keycap will sit level, but a warped one will rock or curve. Even a small bend changes how the key moves.
For mild warping on PBT spacebars, gentle heat can help. Warm the keycap slightly and press it flat as it cools. If the warp is severe, a replacement keycap is the better choice. Swapping the cap often fixes the sticking instantly.
Pros: Solves friction problems that cleaning cannot.
Cons: Heating plastic carries a risk of further damage.
Step Ten: Replace The Spacebar Or Switch If Needed
Cleaning does not always work. Sometimes a part is too damaged to save. When that happens, replacement is the smart move. This is your last resort after other fixes fail.
On a mechanical keyboard, the switch under the bar may be faulty. A worn switch sticks no matter how clean it is. You can swap a hot swap switch in seconds. Soldered switches need more skill and tools.
For laptops, a broken clip or hinge means you need a new keycap kit. These kits include the cap, the clip, and the rubber dome. Match the part to your exact laptop model for a proper fit. For a desktop keyboard, replacing the whole board is often cheaper than the labor of repair.
Pros: Fixes problems that cleaning cannot solve.
Cons: Costs money and may need technical skill.
Step Eleven: Prevent Your Spacebar From Sticking Again
The best fix stops the problem before it starts. A few easy habits keep your spacebar smooth for years. Prevention costs almost nothing and saves you future repair work. Make these steps part of your routine.
Do not eat or drink over your keyboard. Crumbs and spills are the number one cause of sticky keys. Keep food and cups away from your desk during work.
Cover your keyboard when you are not using it. A simple dust cover blocks dirt and hair. Wipe the keys with a dry cloth once a week. Run compressed air over the board once a month. Wash your hands before typing to reduce oil buildup. These small actions make a big difference over time.
Step Twelve: When To Call A Professional
You can fix most spacebar issues alone. But some problems need an expert hand. Knowing your limit protects your keyboard from harm. Do not force a repair you are unsure about.
Call a pro if your laptop spacebar needs internal work. Laptop keyboards are built into the device. A wrong move can damage the ribbon cable or the board. This kind of repair is hard to reverse.
Seek help if liquid reached the motherboard. A deep spill can harm more than the keys. A technician has the tools to open and dry the device safely. For expensive custom keyboards, an expert lube job may be worth the cost. When the value is high, professional care is the safer path.
Pros: Avoids costly mistakes and protects warranties.
Cons: Service fees add up, and you lose the keyboard for a while.
Frequently Asked Questions
Why does my spacebar stick after I clean it?
You may have used too much liquid or missed a wet spot. Trapped moisture makes keys stick until it fully dries. Let your keyboard dry for at least twenty four hours before testing. Also check that you seated the stabilizer bar correctly during reassembly.
Can I use water to clean my spacebar?
Avoid plain water on any keyboard. Water dries slowly and can leave mineral spots or cause corrosion. Isopropyl alcohol is the safer choice. It dries fast and leaves no residue. If you must use a damp cloth, wring it out well first.
Is it safe to remove a laptop spacebar?
You can remove it, but you must be very gentle. Laptop clips are small and break easily. Lift the corners slowly with a flat plastic tool. If you feel strong resistance, stop and try a different angle. A broken clip means you need a full keycap replacement.
How often should I clean my keyboard?
Wipe the surface once a week with a dry cloth. Use compressed air for a deeper clean once a month. Do a full deep clean every few months or after any spill. Regular care stops dirt from building up and keeps your spacebar smooth.
What if my spacebar still skips after cleaning?
A skipping spacebar after cleaning often points to a worn switch or driver issue. Update your keyboard driver first to rule out software. If the problem stays on a mechanical keyboard, the switch may need replacement. For laptops, a technician can test the internal connection.
Does lubing the stabilizer really help?
Yes, the right amount of lube smooths a rattly or sticky stabilizer. Too little lube causes a dry, scratchy feel, and too much causes mush. Apply a thin, even layer to the wire ends only. Wipe off any extra to avoid creating a new sticky problem.

Hi, I’m Frankie Shaw, the founder and writer behind Swittchly 👋. I’m a passionate tech enthusiast who loves exploring the latest gadgets, devices, and electronics that hit the market. Through my honest, research-backed Amazon product reviews, I help readers make smarter buying decisions without the hype or confusion.