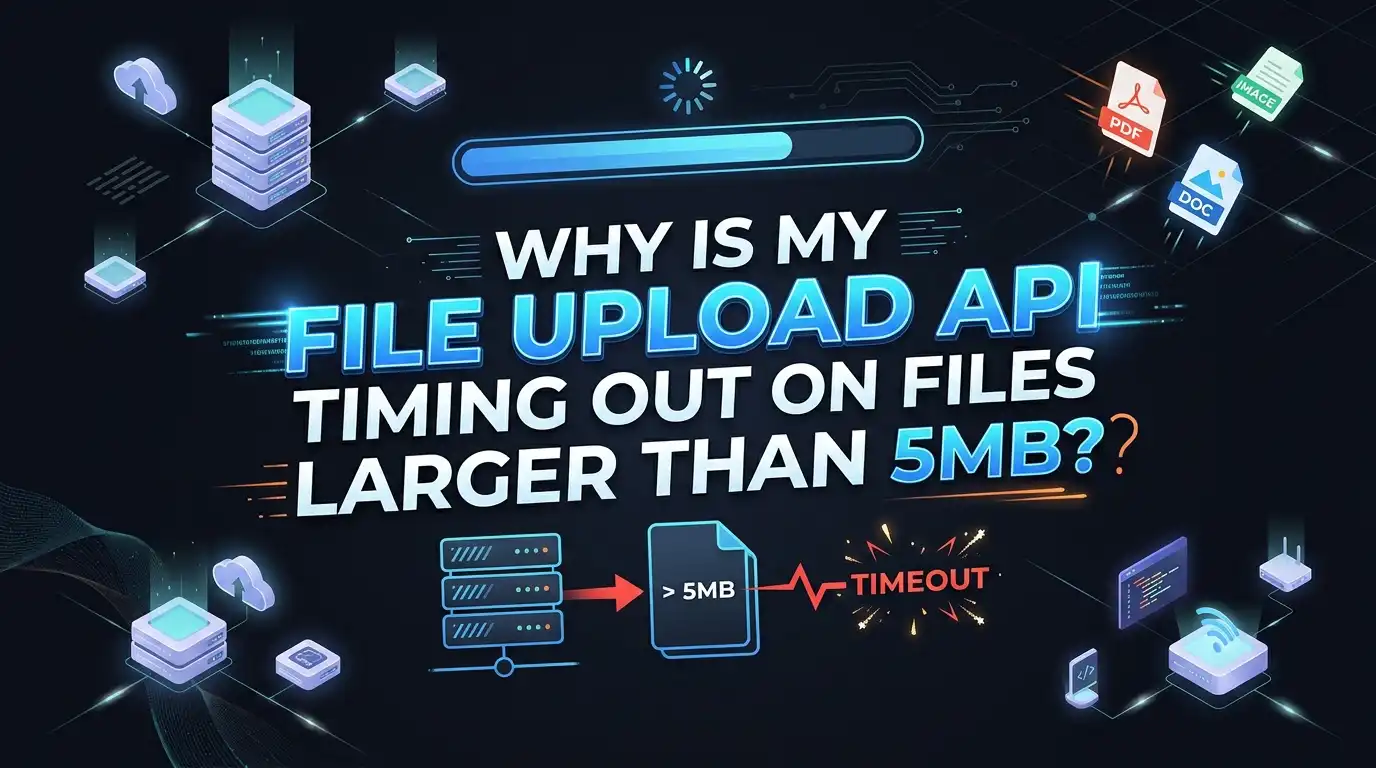
Why Is My File Upload API Timing Out On Files Larger Than 5MB?
You built a file upload API. It worked great during testing. Then a user tried to upload a file just past 5MB, and the request died with a timeout error.
Sound familiar? You are not alone. This exact problem hits thousands of developers every day. The good news is that the cause is almost always something you can find and fix.
A 5MB ceiling is suspicious because it is so specific. Small files sail through. Big files stall. That pattern points to a hidden limit somewhere in your stack. It might be your web server, your application framework, your proxy, or your load balancer.
Key Takeaways
- The 5MB limit is almost never accidental. It usually comes from a default configuration value in your web server, proxy, or framework. Defaults are conservative, and most stacks ship with small upload caps that you need to raise manually.
- Timeouts and size limits are two separate problems. A file can fail because it is too big (a size limit) or because it takes too long (a timeout). Large files often trigger both at once, so you may need to fix two settings, not one.
- Check your stack layer by layer. The request passes through the browser, load balancer, proxy, web server, and application code. Any single layer can block it. Find which one fails before you change anything.
- Chunked uploads and presigned URLs are the strongest long term fixes. Instead of pushing one huge file through your API, you split it into pieces or send it straight to cloud storage. This removes server strain entirely.
- Raising limits is a quick patch, not a final answer. Bumping a number gets you unblocked fast, but very large files still need a smarter architecture to stay reliable.
Understanding What Actually Happens During A File Upload
When a user uploads a file, the data does not jump straight to your code. It travels through several checkpoints first. Each checkpoint can inspect, buffer, or reject the request.
The journey usually looks like this. The browser sends the file. A load balancer receives it. A reverse proxy like Nginx passes it along. Your web server holds it in memory or on disk. Finally, your application code reads it.
Every one of these stops has a size limit and a time limit. A small file finishes before any limit triggers. A 6MB file lingers longer, and that extra time or size crosses a threshold somewhere.
This is why the same code works for one file and fails for another. The code did not change. The file just got big enough to hit a wall. Knowing this journey helps you hunt the real cause instead of guessing.
Why The 5MB Mark Is Such A Common Breaking Point
The number 5MB shows up over and over for a reason. Many default settings cluster right around that value. Software authors pick conservative defaults to protect servers from abuse and crashes.
For example, some API gateways cap request bodies near this size. Certain framework defaults sit close too. When several layers each carry a small cap, the lowest one wins, and it often lands near 5MB.
This means your problem is rarely a bug. It is a setting. That is actually good news, because settings are easy to change once you find them.
The tricky part is that the limit hides in a config file you may have never opened. Developers inherit defaults without realizing they exist. So the file grows past an invisible line, and the request stops cold. The fix starts with finding that line.
Step One: Identify Which Layer Is Causing The Timeout
Before changing anything, find the guilty layer. Guessing wastes time and can introduce new bugs. You need evidence.
Start by reading the exact error. A 413 error means the body is too large, which points to a size limit. A 504 error means a gateway timed out, which points to a proxy or load balancer. A 502 error often means your backend crashed mid upload.
Next, check the timing. Does the request fail instantly or after a long pause? An instant failure suggests a size cap. A failure after thirty or sixty seconds suggests a timeout.
Look at logs at each layer. Your proxy logs, web server logs, and application logs each tell part of the story. The layer that logs the rejection is usually your culprit. This detective work saves hours later.
Fixing Nginx And Reverse Proxy Limits
Nginx is the most common cause of upload failures. By default, it caps request bodies and closes slow connections. Two settings matter most here.
The first is client_max_body_size. This controls the largest body Nginx accepts. The default is small, often just 1MB. Raise it to fit your needs, for example client_max_body_size 100M; inside your server or location block.
The second group covers timeouts. Set client_body_timeout, proxy_read_timeout, and proxy_send_timeout to higher values so slow uploads finish. A value like 300s gives big files room to complete.
Pros: This fix is fast, well documented, and works for most sites. You change a few lines and reload Nginx.
Cons: Raising limits high invites abuse and memory pressure. Huge uploads still tie up server resources, and very large files remain slow and fragile through a single request.
Adjusting Your Web Server And Application Framework
After the proxy, your application framework enforces its own caps. Each framework has its own knobs, so check yours specifically.
In PHP, edit upload_max_filesize and post_max_size in your php.ini file. Also raise max_execution_time and max_input_time so the script does not stop early. All four values must agree or the smallest one blocks you.
In Node.js with Express, the body parser sets a default limit. Pass a larger limit, for example express.json({ limit: '50mb' }). For file uploads, tools like Multer also need their own size config.
In Python frameworks, look for settings like MAX_CONTENT_LENGTH in Flask or DATA_UPLOAD_MAX_MEMORY_SIZE in Django.
Pros: These changes are simple and live close to your code, so they are easy to test and version control.
Cons: Holding large files in memory can crash your process. Frameworks often buffer the whole upload before your handler runs, which strains RAM under load.
Tuning Load Balancer And Gateway Timeouts
If you run behind a load balancer, it adds another timeout you cannot ignore. Cloud load balancers are a frequent source of 504 errors on big uploads.
AWS Application Load Balancers default to a 60 second idle timeout. If your upload takes longer than sixty seconds between data packets, the balancer drops it. You can raise this value in the load balancer attributes, up to much higher limits.
Other providers behave the same way. Many gateways and balancers ship with a sixty second default that quietly kills slow transfers. Check your provider’s idle timeout or request timeout setting.
Pros: Raising this value instantly fixes uploads that fail at the sixty second mark. The change is usually one field in a console.
Cons: Longer timeouts hold connections open and consume capacity. They also mask the deeper issue that a single huge request is risky. This buys time but does not scale forever.
Solution: Switch To Chunked File Uploads
Raising limits has a ceiling. For truly large files, chunked uploads are a far stronger approach. You split the file into small pieces and send each piece as its own request.
The browser breaks the file into chunks, often 5MB or 10MB each. It uploads them one by one or in parallel. The server reassembles them once all pieces arrive. If one chunk fails, you retry just that chunk, not the whole file.
This design sidesteps almost every timeout. Each small request finishes fast, so no proxy or balancer cuts it off.
Pros: Chunking supports huge files, allows resume after failures, and keeps memory use low. It also enables progress bars and parallel transfers for speed.
Cons: It is more complex to build. You need extra logic on both client and server to track, store, and reassemble chunks. You also need cleanup for abandoned partial uploads.
Solution: Use Presigned URLs To Upload Direct To Cloud Storage
A presigned URL is one of the cleanest fixes available. Instead of routing the file through your server, you send it straight to cloud storage. Your API never touches the bytes.
Here is the flow. Your backend asks the cloud provider for a temporary signed URL. It returns that URL to the browser. The browser then uploads the file directly to storage using that URL. Your server only handles tiny coordination requests.
This removes your server as a bottleneck entirely. No proxy timeout, no memory strain, no body size cap on your API.
Pros: It scales beautifully, protects your credentials, and frees your servers from heavy lifting. Big files no longer threaten your application at all.
Cons: Setup requires cloud storage and careful permission rules. You must validate file size and type carefully, since the upload skips your usual server checks. It also ties you to a storage provider.
Combining Multipart Upload With Cloud Storage For Big Files
For very large files, you can combine two ideas. Multipart upload splits a file into parts and sends each part to cloud storage in parallel. This is the heavy duty version of chunking, built into many storage services.
The browser or backend starts a multipart upload. It uploads each part separately, often at the same time. The storage service stitches the parts together when you signal completion. Failed parts retry on their own.
This handles files in the gigabyte range with ease. Parallel parts also make the upload much faster than a single stream.
Pros: It supports enormous files, runs uploads in parallel for speed, and recovers from partial failures gracefully. It is the standard approach for serious file workloads.
Cons: The logic is the most complex of all options. You manage part numbers, track upload IDs, and handle completion calls. Small files do not need this overhead, so use it only where size demands it.
Compressing And Optimizing Files Before They Upload
Sometimes the simplest fix is sending less data. If your files compress well, shrink them before they ever leave the browser. A smaller file finishes faster and dodges many limits.
For images, resize and re-encode them on the client side before upload. A photo straight from a phone can be many megabytes, but a web friendly version may be a fraction of that. For documents and logs, gzip compression often cuts size sharply.
You can run this work in a Web Worker so the browser stays responsive during compression.
Pros: Smaller files mean faster uploads, lower bandwidth costs, and fewer timeouts without touching server config. Users on slow networks benefit most.
Cons: Compression uses client CPU and can reduce quality if you are not careful. Some file types, like already compressed video or zip files, will not shrink much, so this fix does not help everywhere.
Adding Retry Logic And Resumable Uploads
Networks are unreliable. Even a perfect server config cannot stop a dropped Wi Fi signal mid upload. So build for failure, not just success.
Retry logic automatically tries again when a request fails. For chunked uploads, you retry only the failed chunk, which is cheap and fast. Add a short delay between retries so you do not hammer a struggling server.
Resumable uploads go further. They remember which parts already arrived. If the user closes the laptop and returns later, the upload continues from where it stopped.
Pros: This dramatically improves success rates on flaky connections and mobile networks. Users see fewer failures and lose less work.
Cons: It adds state to manage and code to maintain. You must track progress and store partial data safely. For tiny files, this effort is rarely worth it, so reserve it for large or critical uploads.
Monitoring, Logging, And Setting The Right Limits Going Forward
Once your uploads work, keep them working. Good monitoring catches problems before users complain. Set up alerts for failed uploads and slow requests.
Log the size and duration of each upload. This data shows you where real users hit walls. You may find that your average file is far smaller than your worst case, which helps you set sensible limits.
Set limits that match real usage, not arbitrary numbers. If users genuinely need 200MB uploads, support that path with chunking. If nobody sends more than 10MB, a simple raised cap may be enough.
Pros: Monitoring turns guesswork into facts and helps you tune the system over time. It also catches abuse early.
Cons: It requires setup and ongoing attention. Logs and metrics cost storage and need review to be useful. Still, the insight pays for itself quickly.
Frequently Asked Questions
Why does my upload work locally but fail in production?
Your local machine has no proxy, load balancer, or strict server config. Production adds those layers, and each carries its own size and timeout limits. The file fails in production because it now passes through checkpoints that did not exist on your laptop. Check your proxy and balancer settings first.
Is a 413 error the same as a timeout?
No. A 413 error means the request body is too large for a size limit. A timeout means the request took too long to complete. They feel similar because both block big files, but they have different causes and different fixes. Read the error code to know which one you face.
What is the best chunk size for chunked uploads?
A common range is 5MB to 10MB per chunk. Smaller chunks retry faster but add more requests. Larger chunks reduce overhead but take longer each. The right size depends on your network and memory. Test a few values and watch your success rate and speed to pick the best fit.
Should I always use presigned URLs for uploads?
Not always. Presigned URLs shine for large files and high traffic, since they offload work to cloud storage. For small files and simple apps, a direct API upload with raised limits is easier to build and maintain. Choose based on file size, scale, and how much complexity you can support.
Can raising my server limits cause security problems?
Yes, if you set them too high without controls. Very large allowed uploads can let attackers exhaust your memory or disk. Always pair higher limits with validation, rate limiting, and file type checks. Accept only the sizes your users genuinely need, and reject anything beyond that.
How do I know if the load balancer is the problem?
Watch the timing of the failure. If uploads die right around sixty seconds, your load balancer idle timeout is the likely cause, since sixty seconds is a common default. Check the balancer logs for a 504 error. If you see one there but your backend logs look healthy, the balancer cut the connection.

Hi, I’m Frankie Shaw, the founder and writer behind Swittchly 👋. I’m a passionate tech enthusiast who loves exploring the latest gadgets, devices, and electronics that hit the market. Through my honest, research-backed Amazon product reviews, I help readers make smarter buying decisions without the hype or confusion.